#kerriegurney
Hi everyone Kerrie here with a glittery and simple layout I created for the Couture Creations Blog.
The photo was taken on the first day at CHA 2014 Anaheim
It was our first time as exhibitors at CHA and I was lucky enough to be one of the team that travelled across the pond to attend.
As our parent company name is Artdeco Creations we thought it would lots of fun for our first CHA to dress up in the Great Gatsby theme. Don't Tracey and Lesa look fabulous.
Our stand thanks to the design talents of Sharon looked fabulous and as you can see so did we :)
We all had such a fun time together and most importantly visitors to CHA loved our stand, costumes and of course our fabulous products.
Onto my layout
My glitter obsession is back, so once again everything in my house is covered in glitter.
One can never have too much glitter ...right?
Here is how I created my glittery layout
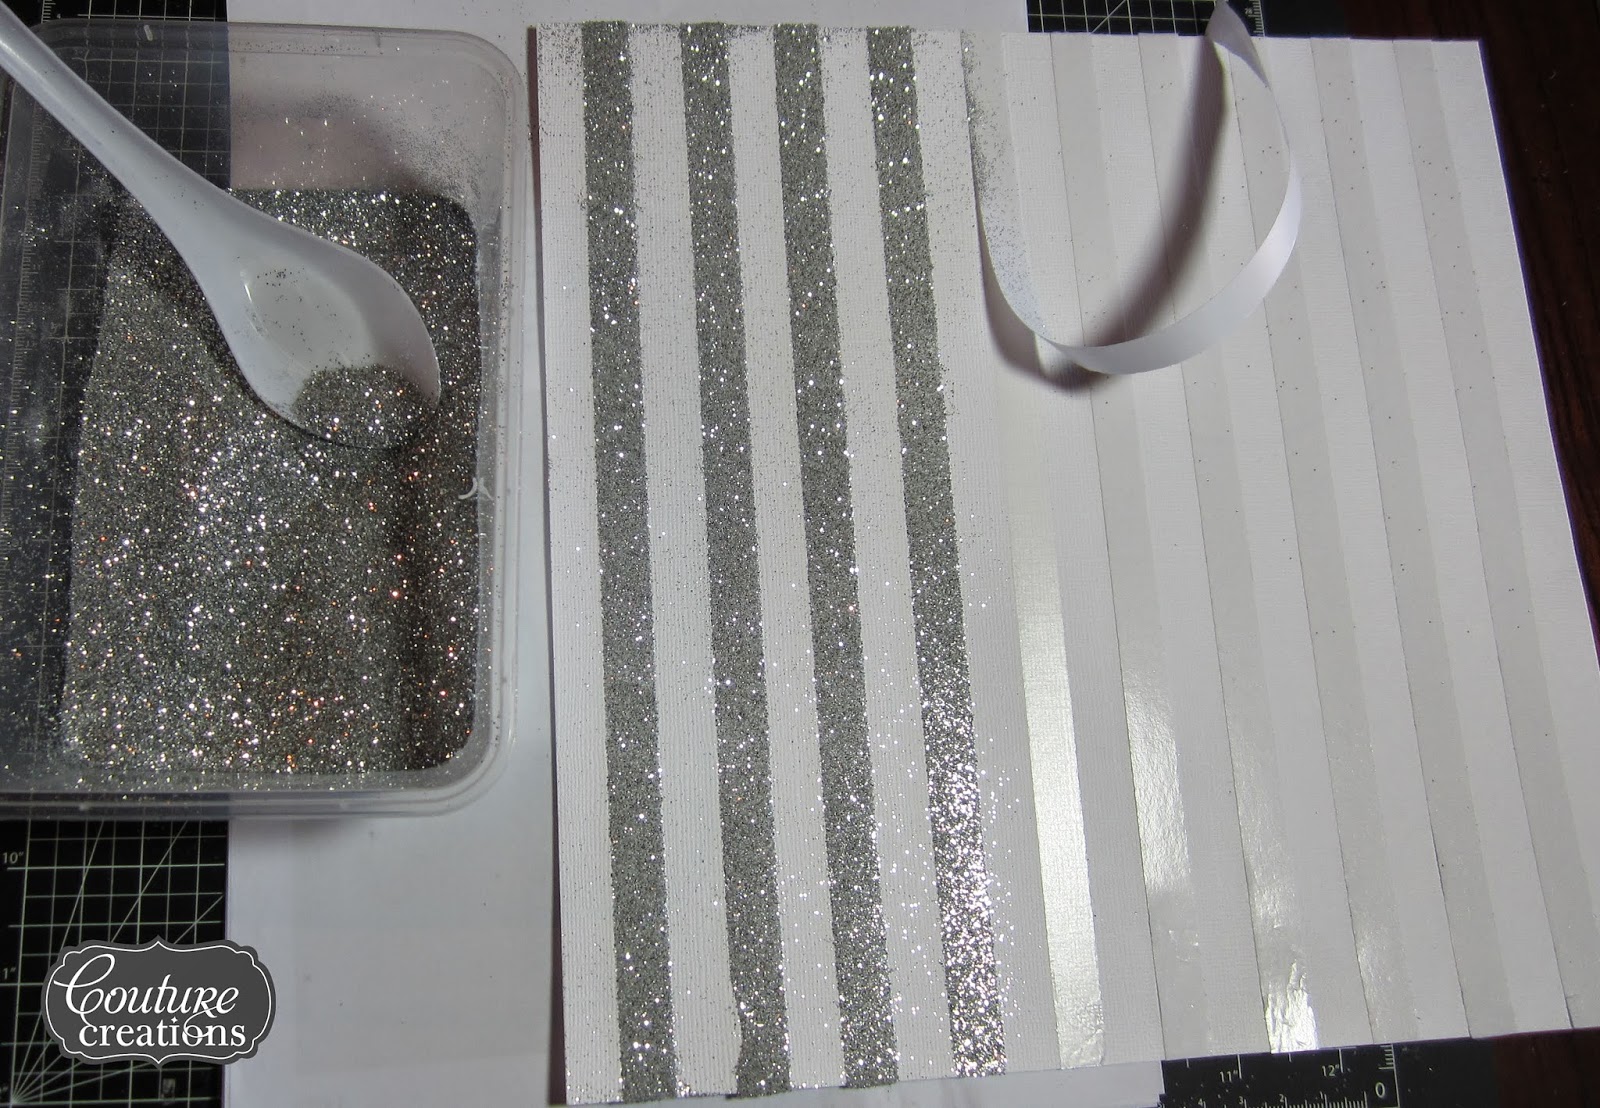
Using Couture Creations 12mm Double Sided Tape create stripes on your white base card.
Make sure you burnish/rub the strips using an embossing tool or bone tool so they are stuck fast.
Remove the backing paper a few strips at a time and sprinkle with glitter, tapping off the excess
Work your way across the page, I find it easier to tip the glitter into a large container. It controls the glittery mess slightly :)
here is a look at all those glittery stripes. Use a duster to remove stray glitter.
If you don't buy the long border dies because you don't have long cutting plates, well I am telling you don't need them
All you need to do is die cut one half of border
carefully, turn it around and die cut the other end.
I don't recommend using our Quick Release Die Paper when doing this as the die will start to release and then move giving a double cut.
Cut Moulin Rouge die in half
close up look at border die, finish off with some gemstones
Quick Simply but effective
I hope you have enjoyed my quick tutorial.
Don't forget to follow Couture Creations Blog and Facebook
Other Products Used
Maya Road Mist
Maya Road Trinket Pin
Silver Glitter
Happy Creating
Kerrie


No comments:
Post a Comment