Showing posts with label glitter. Show all posts

Wednesday, October 27, 2021

Christmas Bauble Trees Card | Couture Creations


Hi everyone Kerrie back again as Guest Designer for Couture Creations for this card I have gone back to where I started with stamping and watercolouring 


Couture Creations Deck the Halls Collection has these cute stamp sets which you can colour using Alcohol Ink Markers, Ink Pads or Watercolours for my card I have used the Christmas Tree Scene set and I have watercoloured 


I started by inking up my Jet Black Stayz In Place Alcohol Ink Pad


I then stamped up my images using Cotton Watercolour Paper


I then coloured my images, I went for a messy watercolour look 
Once dry I cut our all my images and arranged them on my card base and adhered them all using foam tape to give dimension to my card


I added some sparkle with Crystal Glitter Glue


Couture Creations Products Used

Glitz n Glamour Glitter Glue, Crystal


Happy Creating 


#kerriegurney #couturecreationsaus


Wednesday, September 29, 2021

Christmas Trees Card | Couture Creations

Hi Everyone Kerrie back again Guest Designing for Couture Creations
this time I have created a layered Christmas Tree card using the new Christmas Tree Scene Stamp from the Deck the Halls Collection.
This is a versatile stamp set and you can just stamp and colour using markers or you could create a super cute shaker card using the tree but i have gone with creating my trees using Couture Creations Alcohol Inks, these are just too fun to create with and every time you use them you get a different background  

 I started out by stamping out three tree images using the Jet Black Stayz in Place Alcohol Ink Pad onto Yupo Paper


I then cut all the images out, I actually stamped and cut one extra just incase I wanted to add another layer


I then selected my Alcohol Ink colours, testing them on a scrap of Yupo Paper


I started layering my Alcohol Inks by applying the Khaki Glitter Alcohol Ink first, I then added the Champagne Metallic followed lastly by Jade Metallic, then blowing the colours around using the blower tool 


you can see the shimmer from the metallics and the sparkle from the glitter 


Once dry I them restamped the tree images using the Jet Black Stayz in Place Inkpad you could restamp using gold if you prefer but I wanted the stark contrast


I diecut Merry Christmas sentiment from Gold Mirror Board


I then layered my tree onto my base card which I had created using Mirror Board and White Glitter Card 


I hope you have enjoyed my tutorial and remember if you recreate this card don't forget to share on your socials and tag #couturecreationsaus and me #kerriegurney

Until Next Time 
Don't forget to follow Couture Creations Blog as well as on Facebook and Instagram 


Happy Creating 


#kerriegurney

Thursday, May 28, 2020

Live Well Love Much Laugh Often Layout | Little Birdie Crafts

Hi Everyone it's Kerrie back  I hope you are all safe and well. Today I am back with a layout  I created for Little Birdie Crafts Blog
This layout is one that you can create quite quickly with just a smidge of mixed media and minimal fussy cutting
I have used Little Birdie's Birds and Berries 12x12 Paper Collection for my layout along with some of their gorgeous handmade flowers and leaves.


To start apply Mixed Media Medium using Stencil down the right hand side of  layout base. Do this randomly and just in from the edge. To add some sparkle while the Mixed Media Medium is still wet sprinkle on some Crystal Glitter, this gives you sparkle without adding colour


I snipped these frames to create two and painted just one with Lavender Blush Chalk Paint and set aside to dry with the layout base
Tip you can lighten your paint by mixing with Gesso if you like, Little Birdie Chipboard is already primed so you don't need to pre gesso


 Cut layers from the patterned paper to suit photo, cut lace strip from paper and fussy cut some berry clusters


add some muslin, sisal fibre or cotton to add texture to your clusters


Finish off with some splatters using Hot Pink and Black Current Color Splash sprays, you can either just use the nozzle or a splatter brush


Chipboard, Fleur de Lis Frame

Thanks for stopping by I hope you have enjoyed my tutorial,
please if you don't already follow Little Birdie Crafts on FacebookInstagram and of course their Blog 
 for fabulous tutorials from all the Design Team
You can purchase all Little Birdie Crafts products from your local crafting store or online HERE

 Happy Creating 


#kerriegurney #littlebirdiecrafts

Wednesday, September 25, 2019

Happy 50th Birthday Shabby Chic Card | Little Birdie Crafts


Hi Everyone Kerrie here back with a special card created using gorgeous Little Birdie Crafts products.
I have had a few special milestone birthdays in the last couple of months and here is the card i created for a special friend to celebrate her turning the BIG 50
I love how this card turned out, soft and feminine with a touch of shabby chicness


I love for my card to have layers of subtle texture and this is where stencils and pastes are the best. You can add texture and subtle detail to enhance your projects.


apply mixed media paste randomly using stencil


while the texture paste is still wet, sprinkle on Shimmer Hodge Podge


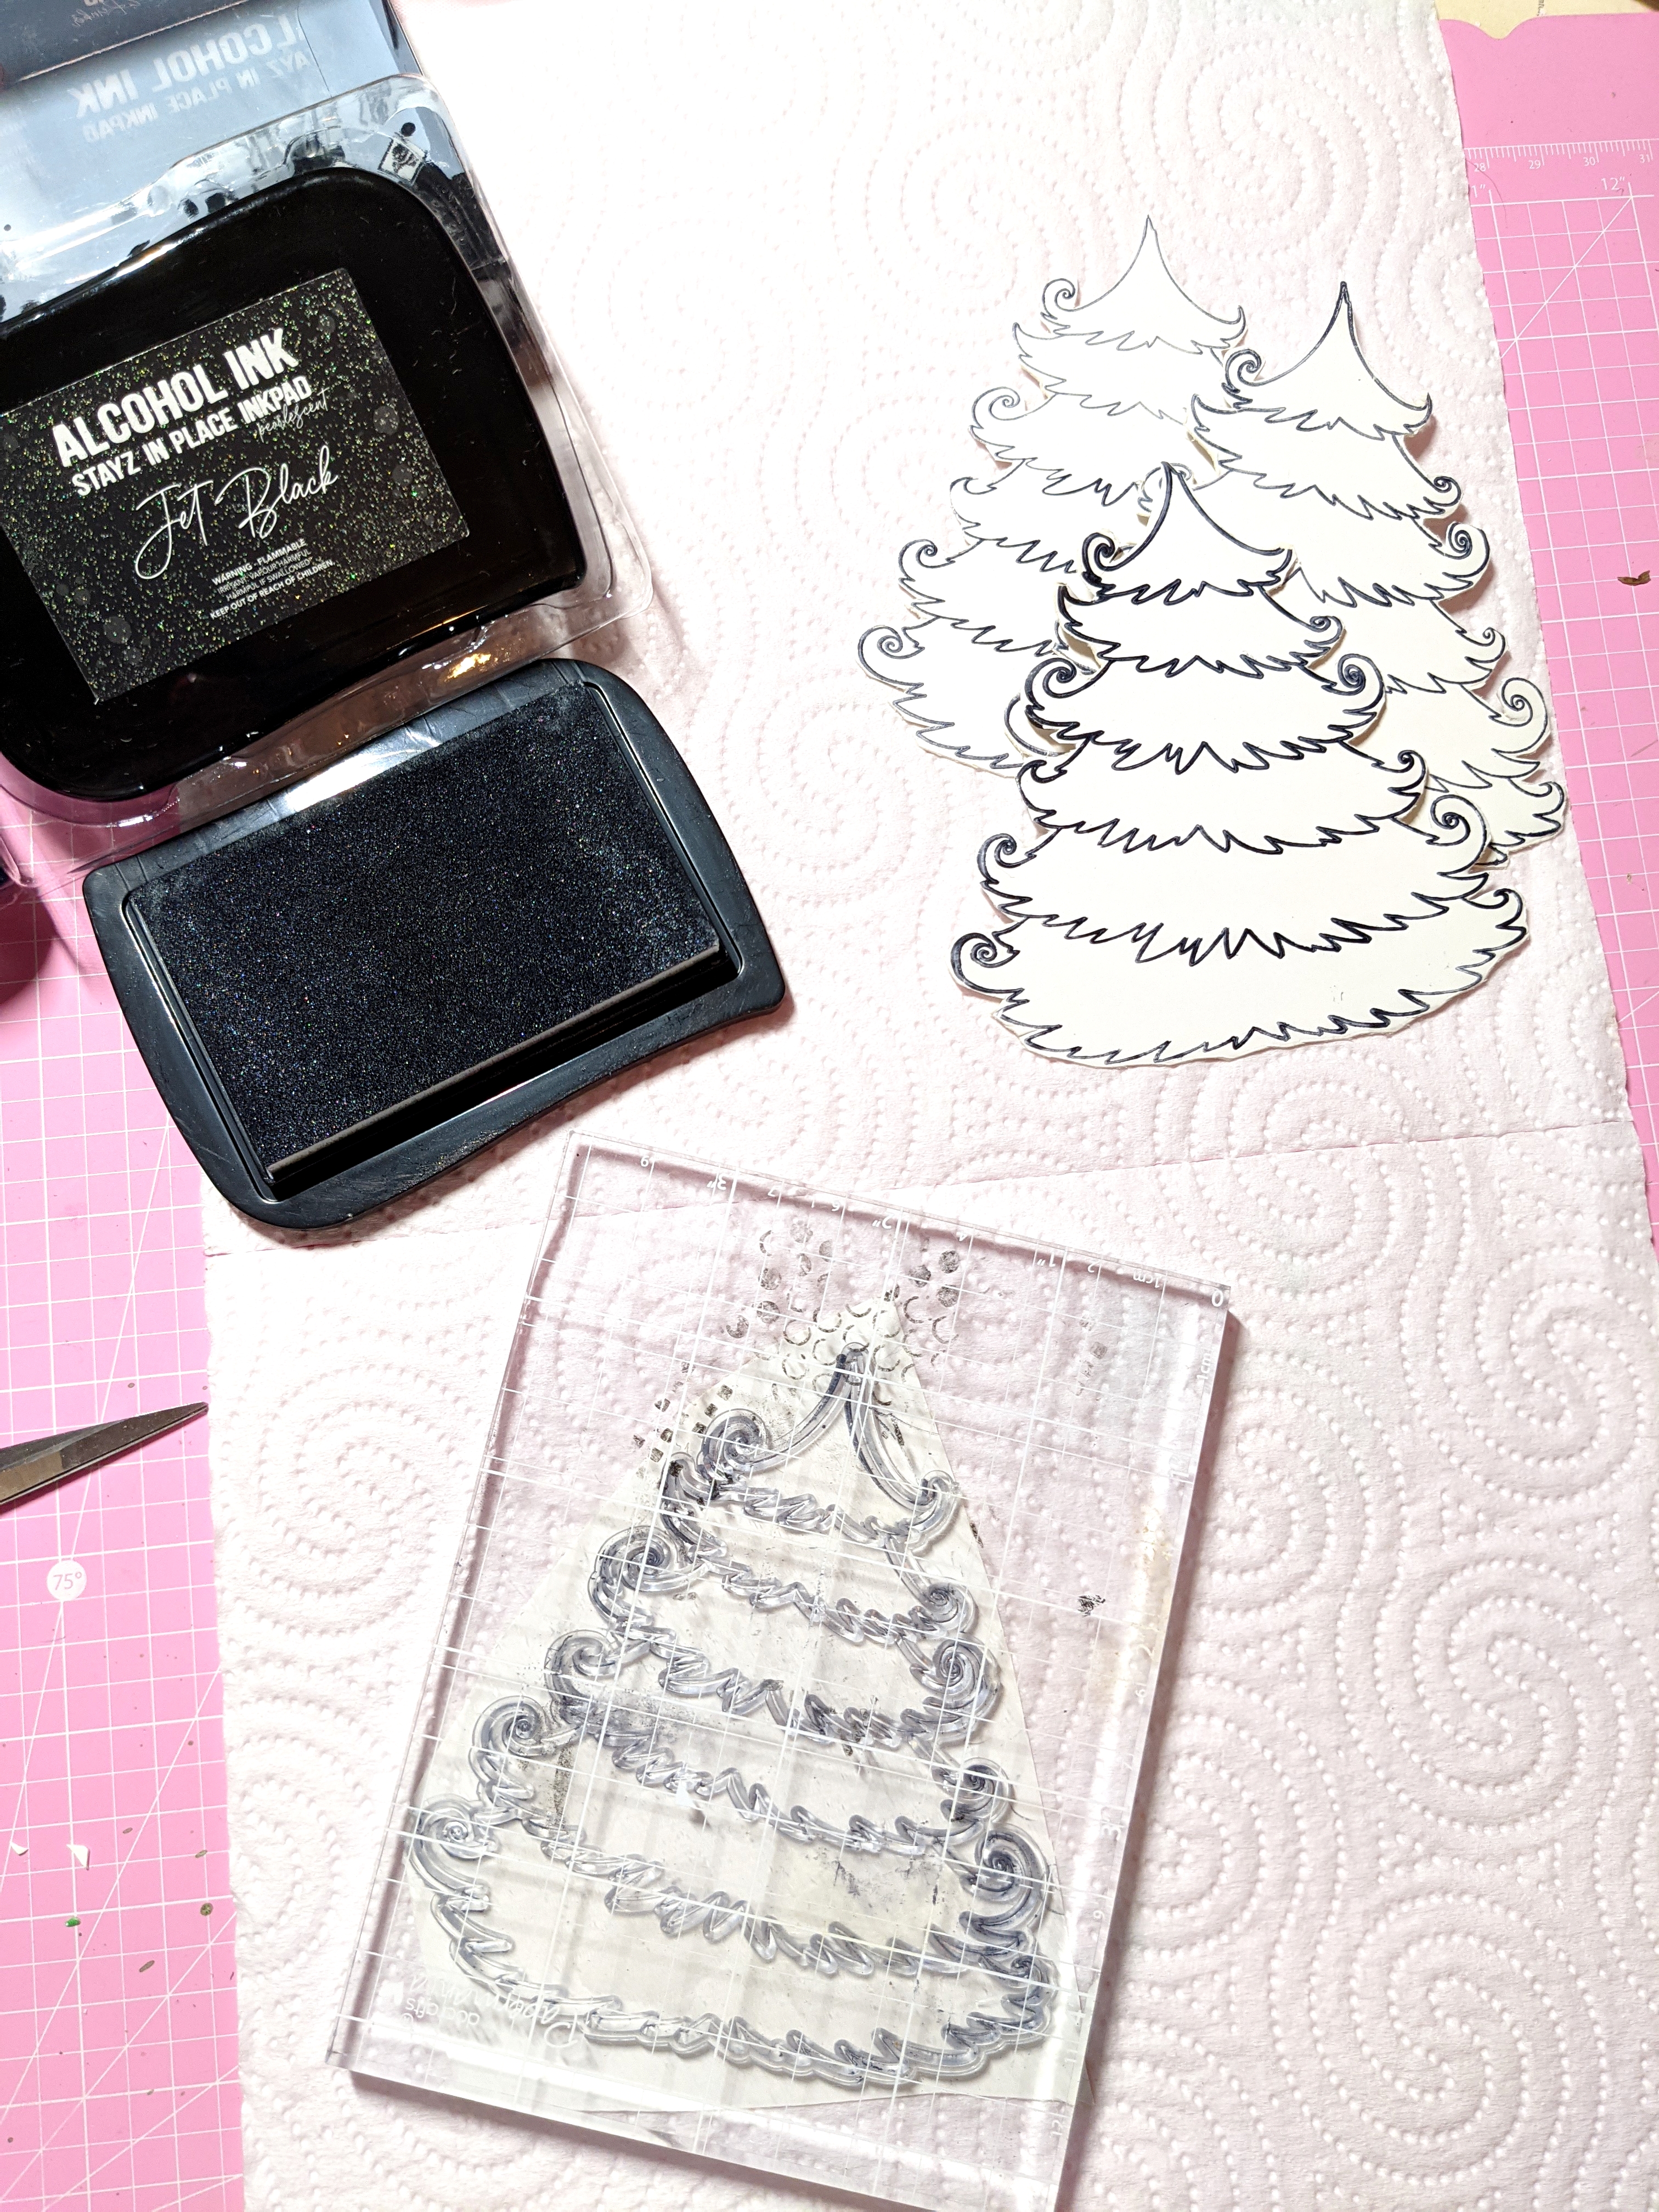
to colour wood veneers and chipboard, mix some Chalk Paint in with Crackle Texture Paste, i used the Whipped Seafoam as I wanted just a touch of green
I like using Crackle Paste on my embellishments as it adds another subtle layer to my projects
Little Birdie Crafts Chipboard is primed so you don't need to add a base coat


I cut a tag from coordinating patterned paper and layered it onto white cardstock. I fussy cut some flower clusters and the Happy Birthday from the cut up patterned paper piece.
Once everything was dry I embellished using handmade flowers and butterflies, first i placed a layer of messy cotton thread to layer everything onto again adding subtle texture.


 a closer look at the texture created using texture and crackle pastes


Watercolour Floral Ballet Linen Paper Pack
Chalk Paint , Whipped Seafoam
Shimmer Hodge Podge, Strawberry Lips
Stencil, Floral Mesh
Chipboard, Scroll Border 
Handmade Flowers
Crackle Paste
Mixed Media Paste


Thanks for stopping by I hope you have enjoyed my tutorial,
please if you don't already follow Little Birdie Crafts on FacebookInstagram and of course their Blog 
 for fabulous tutorials from all the Design Team


 Happy Creating 


 Happy Creating 

#kerriegurney #littlebirdiecrafts


Monday, October 1, 2018

White on White Wedding Card

#kerriegurney 

Hi Everyone,
some time ago my daughter asked me to create a wedding card for one of her friends and we both decided white on white would be perfect
I thought it was time I shared it with you all


a closer look at the details and texture 


 Happy Creating 


Monday, April 17, 2017

Moments Together | Celebr8

#kerriegurney #celebr8

Hi Everyone
Kerrie here with a layout I created using Celebr8's Summer Adventure Collection

Although this is a beachy summer collection it works perfectly for family photos and other occasions

I have used the papers along with some of the mattboard embellishments and the organza and tulle flower which i hit with the heat gun to create a flower with more character
The title is from another collection, not sure which one sorry.


I added some texture using the Seamless Borders Mask along with Couture Creations Anna Griffin Texture Paste and a sprinkle of glitter


I decided to leave the mattboard all natural as I liked the look and feel it gave my layout.


For more projects created using Celebr8's collections visit their Facebook Page HERE


 Happy Creating