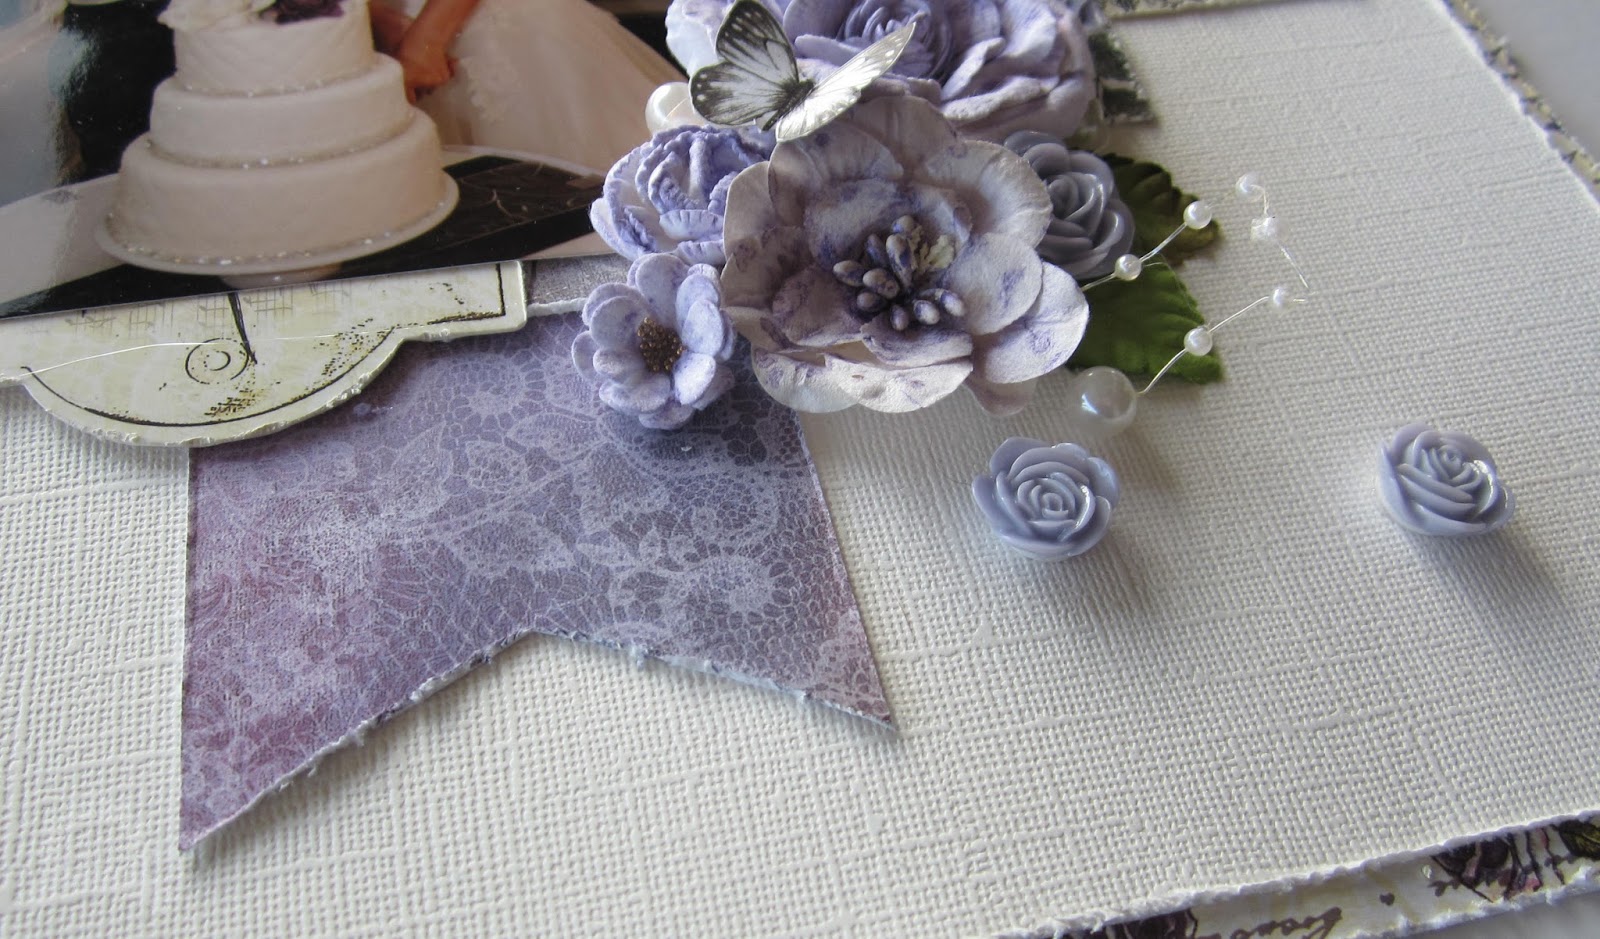
Showing posts with label pearls. Show all posts

Wednesday, March 13, 2019

Cottage Lace Shabby Chic Card | Little Birdie Crafts

#kerriegurney #littlebirdiecrafts

Hi Everyone Kerrie here with my very first post for Little Birdie Crafts.
I'm so very excited and honoured to be selected as one of the designers for Little Birdie Crafts. I have loved their products for so long and they are adding more and more gorgeous products to their range.
I am also very excited to be amongst such talented ladies.
 Thank You to Harrish and Rashmi for giving me this fabulous opportunity. 


For my first project I have created a lovely Shabby Chic card using their Cottage Lace paper collection along with their Corrugated Board and of course their beautiful flowers.
This card is actually quite quick to create so if you are about to run out the door and remembered you need a card for someone special, this is the card for you!


Cut a piece of ivory cardstock down to create 6"x 6" card base

Next cut a 5.3/4" x 5.3/4" square from the lace background patterned paper, distress the edges
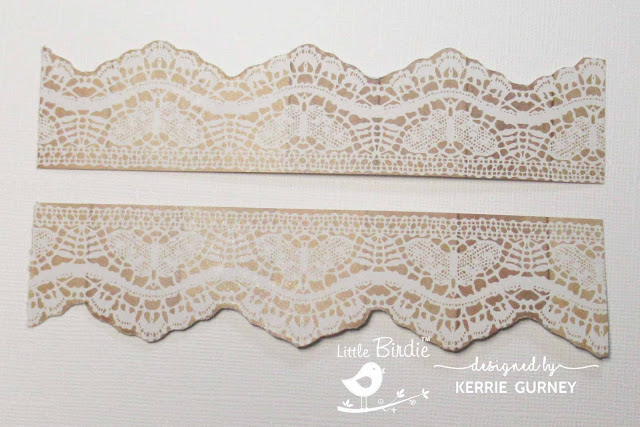

Cut the Lace Border from the Lace & Rose Border patterned Paper, cut into 2 x 5. 3/4" lace pieces, distress the edges


Cut a 4" strip from Corrugate Board and cut down to 5.3/4" and then tear into 2 x 2" strips


Using a dry brush swipe across torn corrugated strips with White Gesso and set aside to dry


Paint Layered Dreamcatcher Primed Chipboard with Pink Ballet Acrylic Paint and set aside to dry


Using your dry brush with Gesso on it lightly swipe leaves from Natalie Moonlight Flower Pack


Layer base lace patterned paper onto base card


Layer on corrugated board, lace strips, wood wool and painted layered dreamcatcher chipboard


Then arrange your flower cluster using Natalie Moonlight, Noelle Pearl Pink and Carnation Beaded Micro Petals


To create a pigs tail on the flower bud I used a skewer

Finish off with Pearl trim


Little Birdie Crafts Products Used


Thanks for visiting my blog, please if you don't already follow Little Birdie Crafts on Facebook, Instagram and of course their Blog 

 Happy Creating 


Saturday, February 16, 2019

Remember Double Layout | Couture Creations

#kerriegurney #couturecreations

Hi Everyone,

I'm sharing this vintage shabby chic double layout I created for a class I taught at The Crafty Chain using Couture Creations Butterfly Garden collection.
If you would like to purchase a kit, The Crafty Chain have limited kits available for you to purchase, just phone (07) 3341 0060 the store to organise picking one up or having one posted.


In this class I teach you how to create texture to your flat ephemera embellishments and how to add a touch of foil to your chipboard and wood veneer pieces.


Butterfly Garden is a gorgeous collection and you can purchase the whole collection from The Crafty Chain

 The pattern papers needed to create the layout along with the ephemera collection, chipboard, wood veneer title, foil, lace flower, pearls, paper flowers and wood wool are included in the kit.


 Happy Creating 


Wednesday, April 19, 2017

Cutting the Cake | Artdeco Creations

#kerriegurney #artdecocreations #ultimatecrafts

Hi Everyone  it's Kerrie back with another wedding layout for Artdeco Creations Blog
I created this layout using Ultimate Crafts Rambling Rose Cardmakers Collection Pack
The Cardmakers pack is perfect for creating quick beautiful layouts as it has not only exclusive 12x12 paper designs including quad papers but it also has diecut embellishments and border strips.


to start I cut the center out of this piece of paper to create a decorative border for my layout and this way you you are not wasting your patterned paper and can use the middle section on another project


I cut some of the diecut pieces to tuck into my layers, this is a great way to use up embellishments that you like but the picture on them doesn't go with what you are working on


here is a look at my layers, I have started with a full quad piece and worked up my layers, distressing the edges of all my pieces. The doily peeking out is from the L'Aquarelle Die Cut Doily Set, I just flipped it over to use the white side rather than the blue side.


here is a closer look at my cluster of flowers, these are left overs from my last layout I always colour more than needed then you have them ready for your next project and as I want to do a few layouts from the wedding I know I will use them all up.


a closer look at all the layers, When I can get to my sewing machine I will add a stitched border.
I have kept the layout clean as I really wanted this gorgeous photo of Rachael and Jacob to shine


Thanks for stopping by
Don't forget to follow the Artdeco Creations Blog and also follow Couture Creations|Ultimate Crafts on
FacebookPinterestInstagram and Twitter

 Happy Creating 


Wednesday, April 12, 2017

Bride + Bridesmaids | Artdeoco Creations

#kerriegurney
#artdecocreations #ultimatecrafts #couturecreationsaus

Hi Everyone
Kerrie here with a layout I created for the Artdeco Creations Blog 

As soon as I saw the photos from Rachael and Jacob's Wedding I knew they would be perfect for the Ultimate Crafts Rambling Rose Collection.
So I asked the beautiful Bride if I could please scrap some of them. I'm so happy she said yes which means yes there will be more wedding layouts coming from me.
I thought I would start with this gorgeous photo of  Rachael and her Bridesmaids first up with the Rambling Rose papers perfectly complimenting the girls  beautiful purple dresses


Firstly I folded the Corned Roses paper in half and drew on a half heart shape making sure my photo fitted inside the heart. I then cut it out


I distressed the edges of the heart and  then gave the heart a spritz with my Purple Shimmer Spray that I made up using the Couture Creations Anna Griffin Pigment. While still wet I scrunched the heart up into a ball and then unflurled it and set aside to dry


I have cut the border off my stencil which gives me more freedom with the stencil.
I don't like to have a solid edge to it


I then added some texture using the Couture Creations Anna Griffin Embossing Paste


While still wet sprinkle on some Couture Creations Anna Griffin Purple Glitter and set aside to dry


I then grabbed some paper flowers, wood shapes, feather sprig and muslin and spritz them all with my Purple Shimmer Spray. I dried them off a little using my heat tool and then set aside to dry off


I cut these three panels from the Reflections patterned paper and distressed the edges
I then layered all my pieces onto the Wood Panel Roses patterned paper. Starting off with these panels, then adding the crumpled heart and then some ephemera pieces from the ephemera pack


I cut some leaves from Cornered Roses patterned paper and then
I added a piece of muslin so it was coming out from under the photo and then layered on the flowers, feather sprig and wood shapes, finishing off with some pearls


to add some dimension I have used foam tape under some layers


Artdeco Creations Products Used

ULT157701 Ultimate Crafts Rambling Rose 12x12 Paper Pad
ULT157751 Ultimate Crafts Rambling Rose, Ephemera Pack
ULT157749 Ultimate Crafts Rambling Rose, Wood Veneer Shapes

ULT157745 Ultimate Crafts Rambling Rose, Pearls
CO724866 Couture Creations Anna Griffin, Mix & Match Pigments

CO724870 Couture Creations Anna Griffin Embossing Paste
CO724864 Couture Creations Anna Griffin Glitter
ULT157802 Ultimate Crafts L'Aquarelle,6 x 6 Stencil, Rolling Mesh  
CO723978 Couture Creations Heat Tool
CO723828 Couture Creations Non Stick Craft Mat

Thanks for stopping by
Don't forget to follow the Artdeco Creations Blog and also follow Couture Creations|Ultimate Crafts on
FacebookPinterestInstagram and Twitter

 Happy Creating 


Monday, November 28, 2016

Thinking of You Cards | Ultimate Crafts

#kerriegurney
#ultimatecrafts #couturecreationsaus

Hi Everyone Kerrie here with a couple of quick cards using Ultimate Crafts Ooh La La collection 

 Both cards are 15cm x 15cm Square Cards, 
which means all cardstock card bases are cut to 15cm x 30cm and folded in half.


Thinking Of You Card #1

1.       Cut a piece of black cardstock to 12cm x 15cm and tear the top and bottom. *Tip to get your cardstock to tear where you want it to run a paintbrush wet with water along where you want it to tear and it will tear along the water line.
2.       Cut a strip of patterned paper 5cm x 15cm
3.       Distress  and ink the edges of all pieces
4.       Die Cut Lavish Border and Elemental Corner set from Driftwood cardstock
5.       Ink the edges of all paper pieces and you can add a touch of ink to your paper flower too if you like
6.       Layer black card piece flat onto card base
7.       Adhere border die cuts to back of pattern paper strip
8.       Using foam mounting tape to raise the patterned paper strip adhere it to card
9.       Create a bow from jute twine and adhere to Elemental Corner die cut
10.   Pull the centre from flower and adhere main flower to bow
11.   Adhere Sentiment using foam mounting tape and add centre piece of paper flower
12.   Finish off with a sprinkling of pearls


Thinking Of You Card #2

1.       Cut down Bronze Baroque patterned paper to fit card front
2.       Cut Wrapped with Gold patterned paper to 13cm x 13cm
3.       Distress and ink the edges of papers and cardstock
4.       Tear a section on the bottom right of Wrapped with Gold paper and roll back
5.       Adhere both pieces of pattern paper onto base card
6.       Add Elemental Corner die so it is coming out of the torn section
7.       Distress and ink the edges of Butterfly and Thinking of You Sentiment from Ephemera Diecut pack and adhere to card using foam tape.
8.      Create a bow using jute twine and adhere to card using Turbo Glue Pen
9.      Adhere Magnolia Paper flower using Turbo Glue Pen
10.   Finish off with a sprinkling of Pearls


 Happy Creating 


Tuesday, October 11, 2016

Live, Laugh, Love Double Layout for Ultimate Crafts | Couture Creations

#kerriegurney #ultimatecrafts #couturecreationsaus

Hi Everyone, Kerrie here
I love to create embossed backgrounds on my layouts using versamark inkpad and gold embossing powder, especially for my travel layouts as it gives them a rustic well traveled look.
As you all know I love a distress look and I also love to have things not perfect this way you have the freedom to just create and not stress about lining things up.
This selection of photos are from a trip to Tasmania my girls and I took last July, we had the best time just the three of us touring the top end of Tassi.
On this day it was freezing and the wind was fierce,  I actually had two coats on and I was still cold!!! The walk down to the bottom of the falls was windy and so very cold, but we past all these people coming back up in tshirts and I couldn't work out how they could stand the cold, that is until we walked back up!!! It was such a steep walk that we too were stripping off our coats and worked up quite the sweat walking back up.
The walk down and back were so worth it though as Liffey Falls are beautiful.


Instructions

1.       Using Versamark Ink pad ink up Ooh La La Zephyr Embossing Folder, stamp background using embossing folder on both pieces of Cinnamon Cardstock
2.       Sprinkle with Mirror Gold Embossing Powder, tap off excess powder and heat until all embossing powder is molten and set. This does not have to be perfect as we want a rustic, vintage look. Clean Embossing Folder using warm sopay water or a baby wipe straight away after stamping.
3.       Cut from Obsidian (Black) Cardstock 1 x 9cm x 25.5cm, 1 x 9cm x 27cm, 1 x 3cm x 28.5cm, 1 x 3cm x 27cm, 1 x 2.5cm x 18cm, 1 x 2.5cm 26.5cm pieces
4.       Cut from Golden Baroque pattern paper 1 x 6cm x 27cm, 1 x 6cm x 15.5cm strips
5.       Cut from Chocolate Swirls pattern paper 1 x 15cm x 15cm piece
6.       Cut a 4.5cm piece from Border strip from Ephemera pack, giving two pieces to use.
7.       Emboss both 2.5cm wide strips using Zephyr embossing folder
8.       Create pennants from the 2.5cm x 18cm embossed strip and the 3cm x 28.5cm strip
9.       Distress the edges of all paper and cardstock pieces
10.   Ink all the distressed edges of all pieces of paper and cardstock and also ink the edges of all diecuts, using sponge dauber and brown ink pad.
11.   Layer all pieces onto the embossed base, making sure to match up both sides in the center
12.   Add lace trim to page before main photo on first page
13.   Before layering main photo mat onto base wrap twine around photo mat
14.   Add photos

15.   Finish off with die cut embellishments and a sprinkling of Pearls


here is a closer look at the embossed background


3mm pearls create soft accents


Photo Sizes; 1 x 4x6 landscape, 4 x 3x4 portrait

Thanks for stopping by
Don't forget to follow the Artdeco Creations Blog and also follow Couture Creations|Ultimate Crafts on
FacebookPinterestInstagram and Twitter


 Happy Creating