Showing posts with label design team. Show all posts

Wednesday, August 26, 2020

Celebrate Life Mini Pocket Album | Little Birdie Crafts


Hi Everyone Kerrie back with another project for Little Birdie Crafts
this time I have created a little mini album using their Celebrate Life 6x6 pad 


This mini is so quick to create and you can use it to send gift cards or add some favourite photos from a special event or use it as a little brag book 


to create the base you just need 3  and a half sheets of 6x6 patterned cardstock single sided or 3 sheets if you have double sided paper.
Step 1 | score the first one at 3" and fold in half, cut another sheet in half and adhere to the top outer
Step 2 | Cut a strip from the 6x6 patterned cardstock and adhere to inside right side and slot the first page insert to see where you need to score to create a wrap around 
Step 3 | repeat as per 2nd insert to create your third and outer page 
I have created mine to match up with the amount of pattern I want showing out the side to create the pocket layers
Step 4 adhere the pages together making sure to only add adhesive to the top and bottom edges as you want to create pockets 


Using Sculpture Paste and a silicone mold I created some leaves, just leave in the mold to dry and then paint using White Gesso


using French Rose Chalk Pain I painted my Primed Chipboard Round Flourish 


While the chipboard is still wet sprinkle on some Strawberry Lips Shimmer Hodge Podge and set aside to dry


next I fussy cut some pieces from the fussy cut sheets in the pad and then layered all my pieces on the front adding some handmade flowers as one can never create without some gorgeous LBC flowers 
I then added some more Strawberry Lips Shimmer Hodge Podge this time using Gel Medium to adhere the bling where I wanted


finish off with punched out pieces and some journal cards tucked into the pockets (you can add photos or gift cards or a combination of all into the pockets if you prefer 
Add some string wrapped around to hold the album closed 


a look inside 


a closer look at all the layers and details 


Thanks for stopping by I hope you have enjoyed my tutorial,
please if you don't already follow Little Birdie Crafts on FacebookInstagram and of course their Blog 
 for fabulous tutorials from all the Design Team
You can purchase all Little Birdie Crafts products from your local crafting store or online HERE

 Happy Creating 


#kerriegurney #littlebirdiecrafts

Tuesday, August 11, 2020

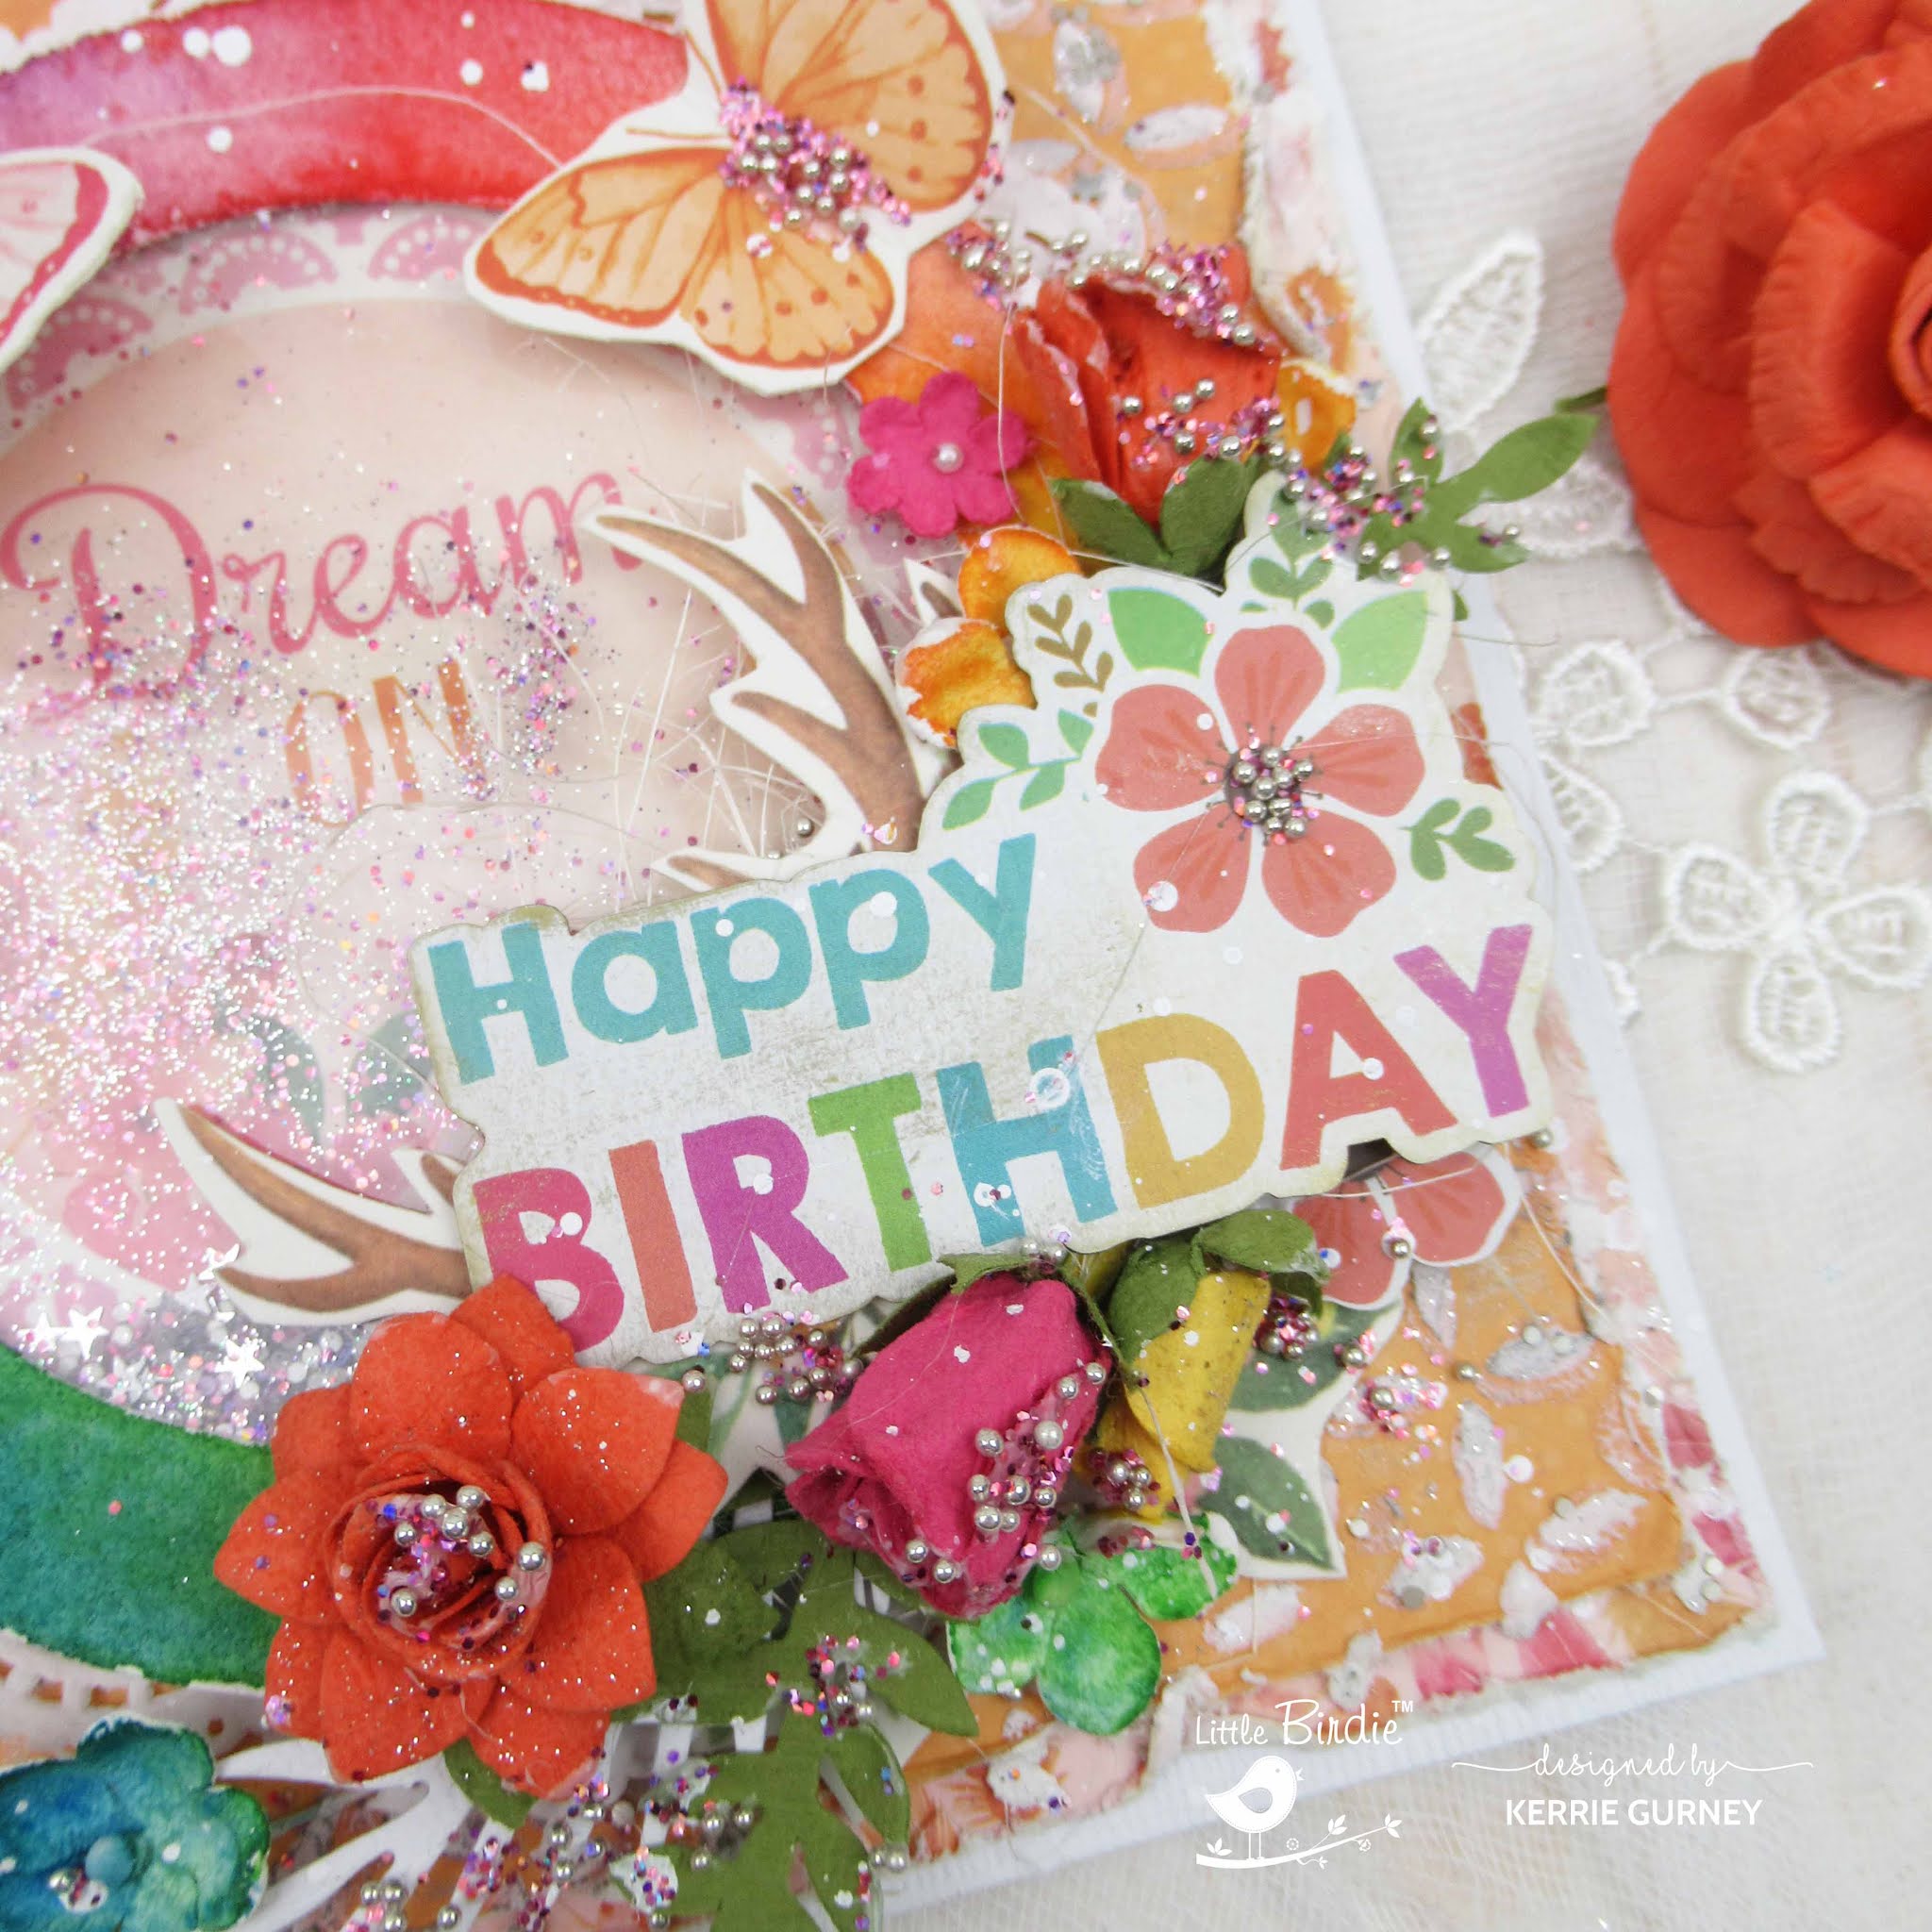
Birthday Shaker Card | Little Birdie Crafts

Hi Everyone, Kerrie here with another project for Little Birdie Crafts

Many years ago I was queen of shaker cards and I am so happy to see that they are once again popular as I do love a shaker card.
For my card today I have used Little Birdie's Boho Dreams collection as those who follow me know i love this colour combo and this collection 

first up I cut two pieces of patterned paper to use as my base layers, I then applied mixed media paste using stencil to add some texture 
while the paste was still wet i sprinkled on Silver Stars Twinkle Melange and set aside to dry
 I then watercoloured the circle frame and the flowers, once dry i pulled the frame part and created a window by adding some acetate to the back of the watercoloured frame. I also adhered a doily to the base I popped the base onto a paper doily to give another layer to my shaker 

I then double layered foam tape around the circle opening to give my shaker mix room to shake 
for my shaker mix I used a combination of Little Birdie blings 
next up I rubbed Silver Metallic Wax over the texture paste to add dimension and to take the whiteness from the paste
Once I had layered on my fussy cut pieces , flowers and sentiment I then applied some Gel Medium randomly to my cluster and sprinkled on some Micro Beads and Rainbow Sparkle and then finished off with some spatteres of watered down gesso 
a closer look at all the layers and texture


Little Birdie Crafts Products Used


Thanks for stopping by I hope you have enjoyed my tutorial,
please if you don't already follow Little Birdie Crafts on FacebookInstagram and of course their Blog 
 for fabulous tutorials from all the Design Team
You can purchase all Little Birdie Crafts products from your local crafting store or online HERE

 Happy Creating 


#kerriegurney #littlebirdiecrafts 

Wednesday, June 24, 2020

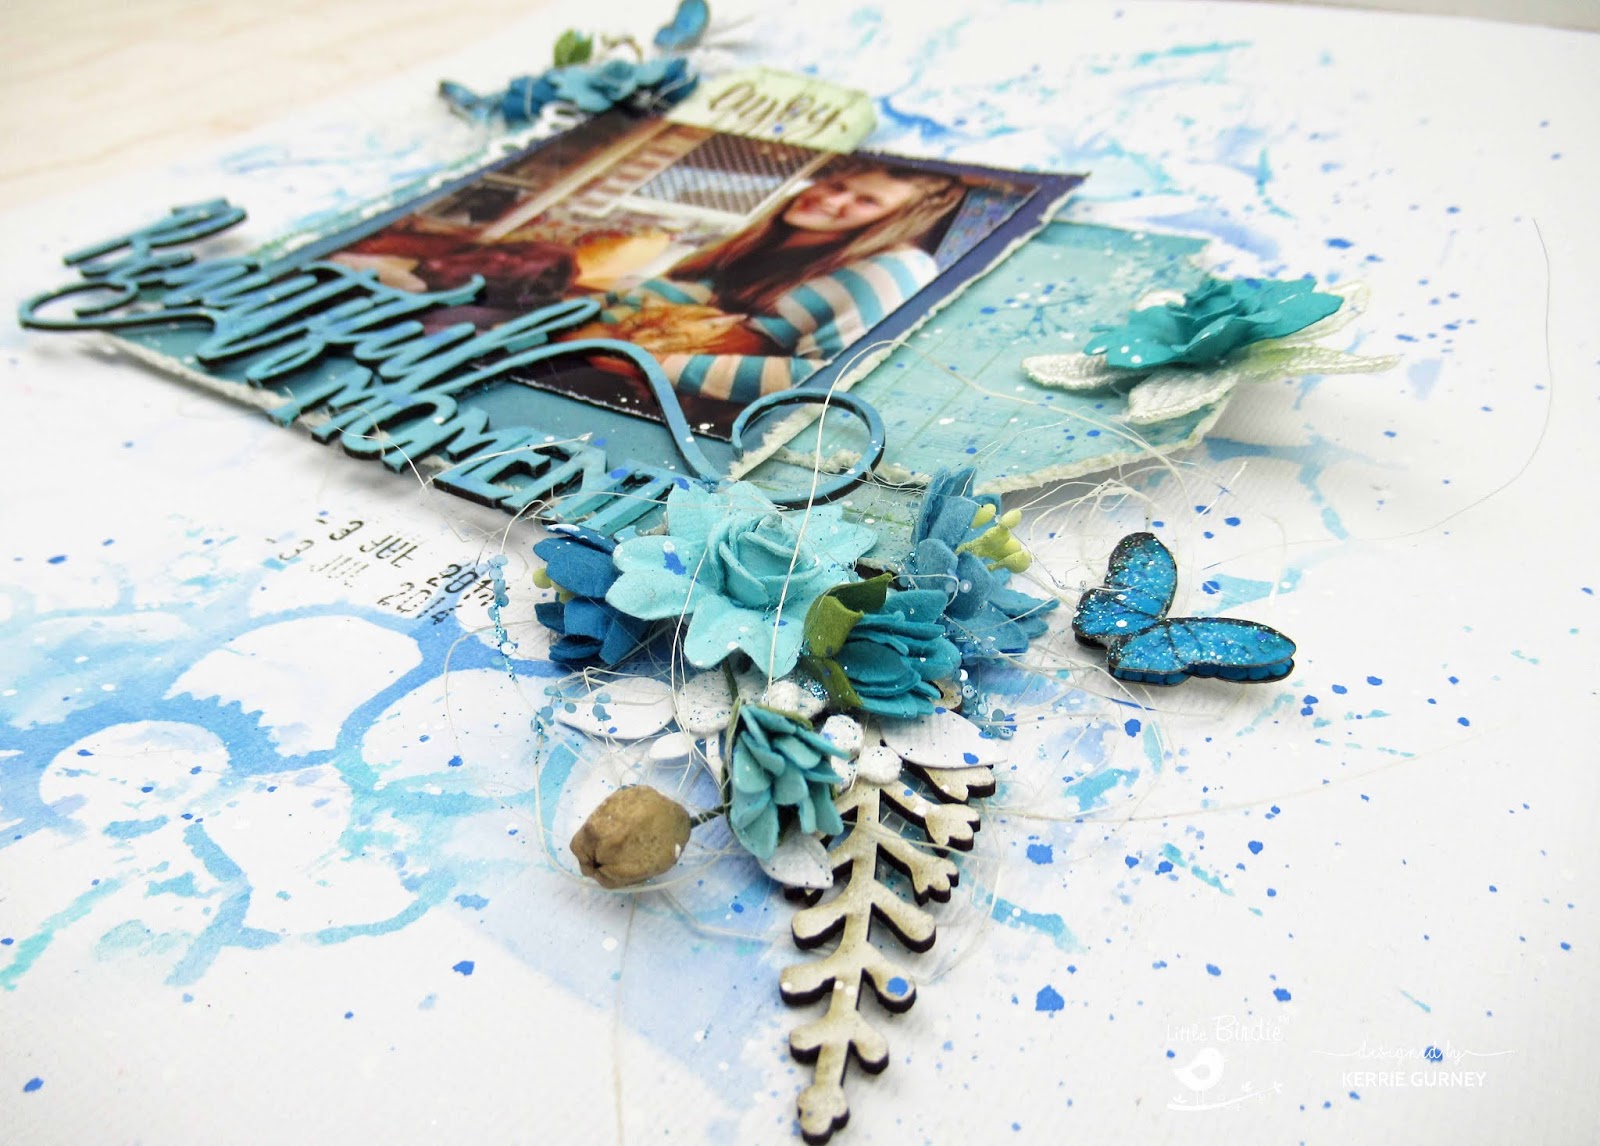
Enjoy Beautiful Moments Layout | Little Birdie Crafts


Hi Everyone Kerrie here back with another layout I created for Little Birdie Crafts using their Songs of the Sea 6x6 Paper Pad along with some of their mixed media products and of course their gorgeous handmade flowers.


I was going back through mt stash of photos and came across this photo of my baby girl and our fur babies that I hadn't gotten around to scrapbooking. I love this photo and even more so now as our beautiful cat Toby has passed away. I love the memories that this photo brings me as our dog Cadbury was petrified of Toby and the fact that they were sitting on the chair with T is so so special. This is what I love so much about our craft it is not just giving you a creative outlet it is documenting those cherished memories so that you can look back and remember all the emotions from when the picture was taken.
This is why we must print our our photos, don't just leave them on your camera,phone or in the cloud. Print them so that you al can look back on them and remember to cherished moments.

Ok enough waffling onto my tutorial 


for my background I wanted to create a watercoloured background using a stencil. For this technique you colour the stencil, spritz with water.
I used a combination of Sailing Sky Chalk Paint and Ocean Mist Color Splash Spray, first up I painted the stencil with the chalk paint, then spritzed with water and then spritz on the color spray


I then tapped the stencil to my white cardstock base, you can add more colour and repeat if you want to but try and tap randomly so the pattern isn't perfect. Set aside to dry or dry off with heat tool.


I then painted my chipboard title using a wet paint brush with the chalk paint, then flick on some color splash spray and using the wet paint brush dab over the title, this give a mottled effect. Set aside to dry


I then created layers and a tag using papers from Songs of the Sea 6x6 paper pad and layered then using foam tape. When adhering the paper piece that I used as a photo mount i made sure to only adhere the top and bottom so that my tag could slide in and out as this is where I will write my journaling


I then layered everything on and embellished using some diecuts, chipboard leaves, handmade flowers and butterflies. I popped some sisal fibre under my clusters to add texture
I added some sparkle by adding some Gel Medium randomly into my clusters and swiping it along the Sisal Fibre , I use a tooth pick to do this as you don't want to be too heavy handed.
I then sprinkled on Blue Hawaii Dazzle Cocktail bling


see how the bling sticks to the sisal fibre


to finish off my layout i covered my photo and added some splatters, firstly I splattered with watered down Gesso and then I added some color splash spray to the gesso and added some blue splatters


Thanks for stopping by I hope you have enjoyed my tutorial,
please if you don't already follow Little Birdie Crafts on FacebookInstagram and of course their Blog 
 for fabulous tutorials from all the Design Team
You can purchase all Little Birdie Crafts products from your local crafting store or online HERE

 Happy Creating 


#kerriegurney #littlebirdiecrafts