Showing posts with label cardmaking. Show all posts

Wednesday, October 13, 2021

Merry Christmas | Couture Creations


Hi Everyone Kerrie back again with another Christmas Card I have created as  Guest Designer for Couture Creations
For this card i went with non traditional Christmas Colours and created a Watermelon Pink and Gold background using Couture Creations Alcohol Inks and a little stamping.
This card is once you can again create in multiples as it is quick an simple 
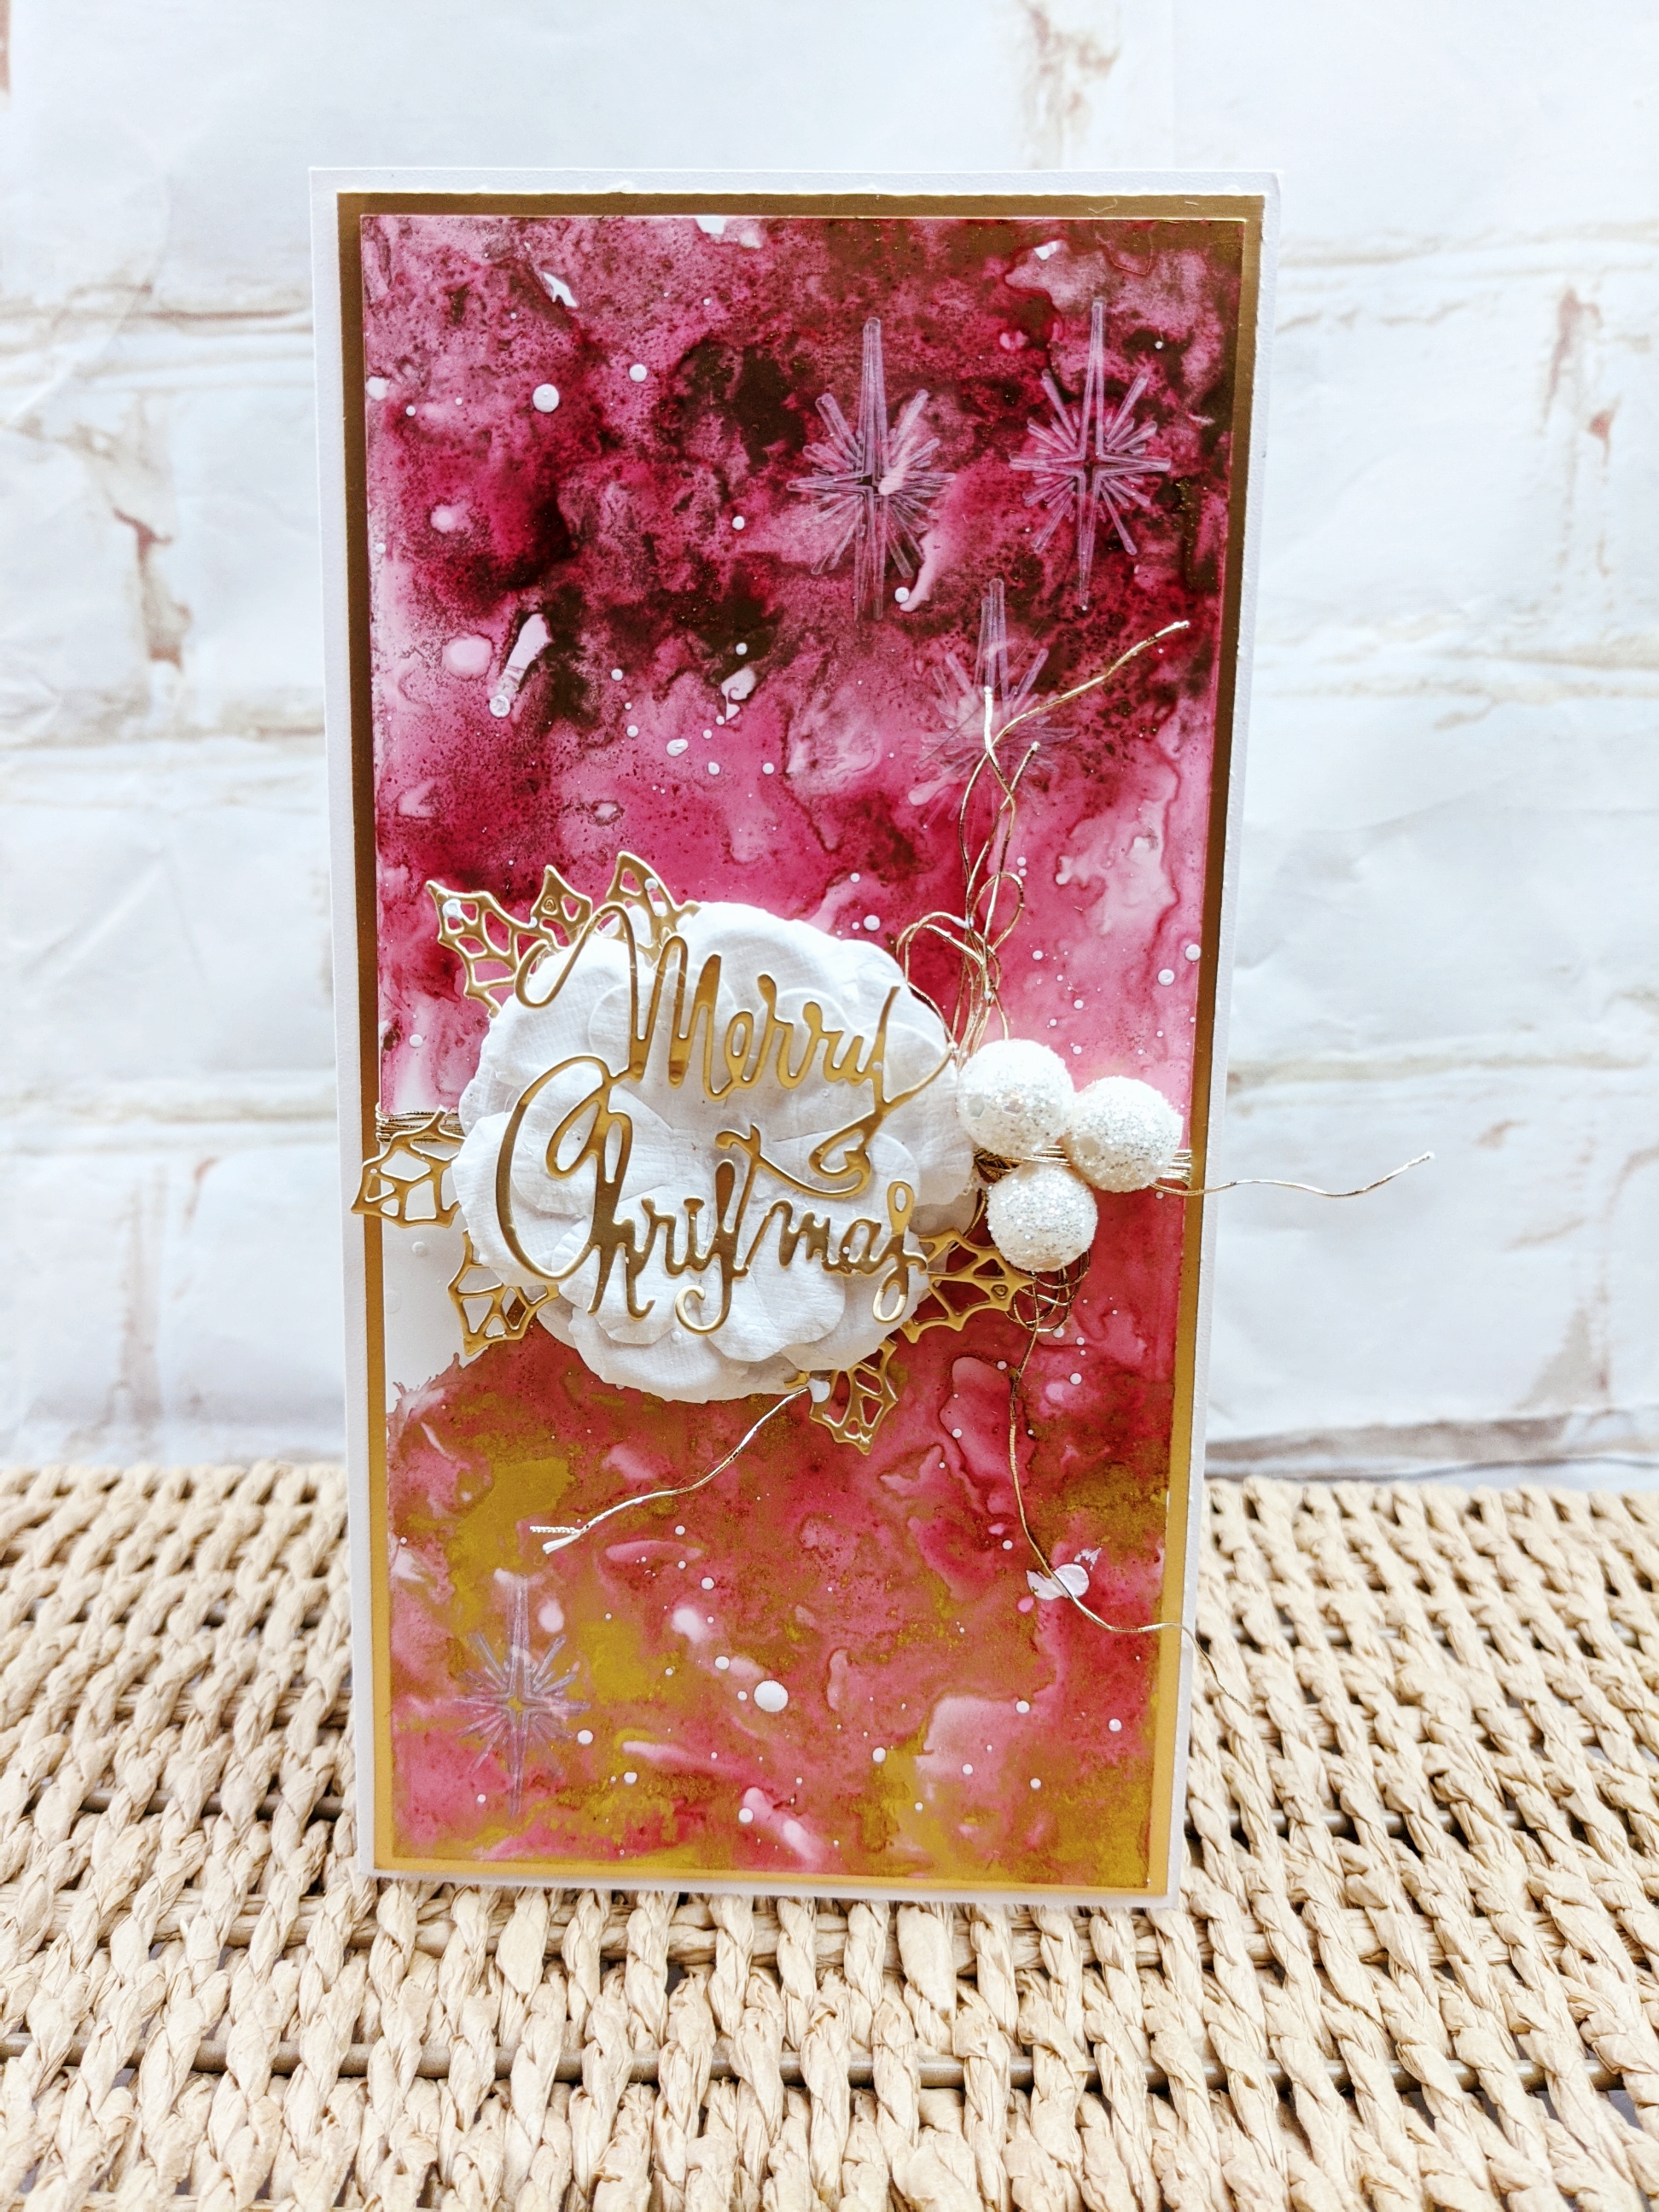


I started my alcohol ink background by dropping on some Alcohol Ink Blending Solution onto Yupo Paper, then dropping on Watermelon Alcohol Ink, move it around using the ink blower 


next i added the Golden Age Gold Alcohol ink and again moved it around using the blower
add some more Blending Solution to help move the gold 


I then added a touch more gold with the Pearl Gold Alcohol Ink 


leave to dry 


When my background was completely dry I stamped on some Christmas Stars using Artic White Stayz in Place Ink Pad and the Christmas Star from the Christmas Tree Scene Stamp Set


Stamping creates  subtle layers to your background 


I then added  Holly Sprig and merry Christmas Sentiment die cut from Mirror Board, I broke the Holly Sprig up and tucked into the flower petals
I finished off with some gold twine, paper flower, pearl balls and some splatters of the Artic White Alcohol Ink 


Happy Creating 


#kerriegurney

Tuesday, August 11, 2020

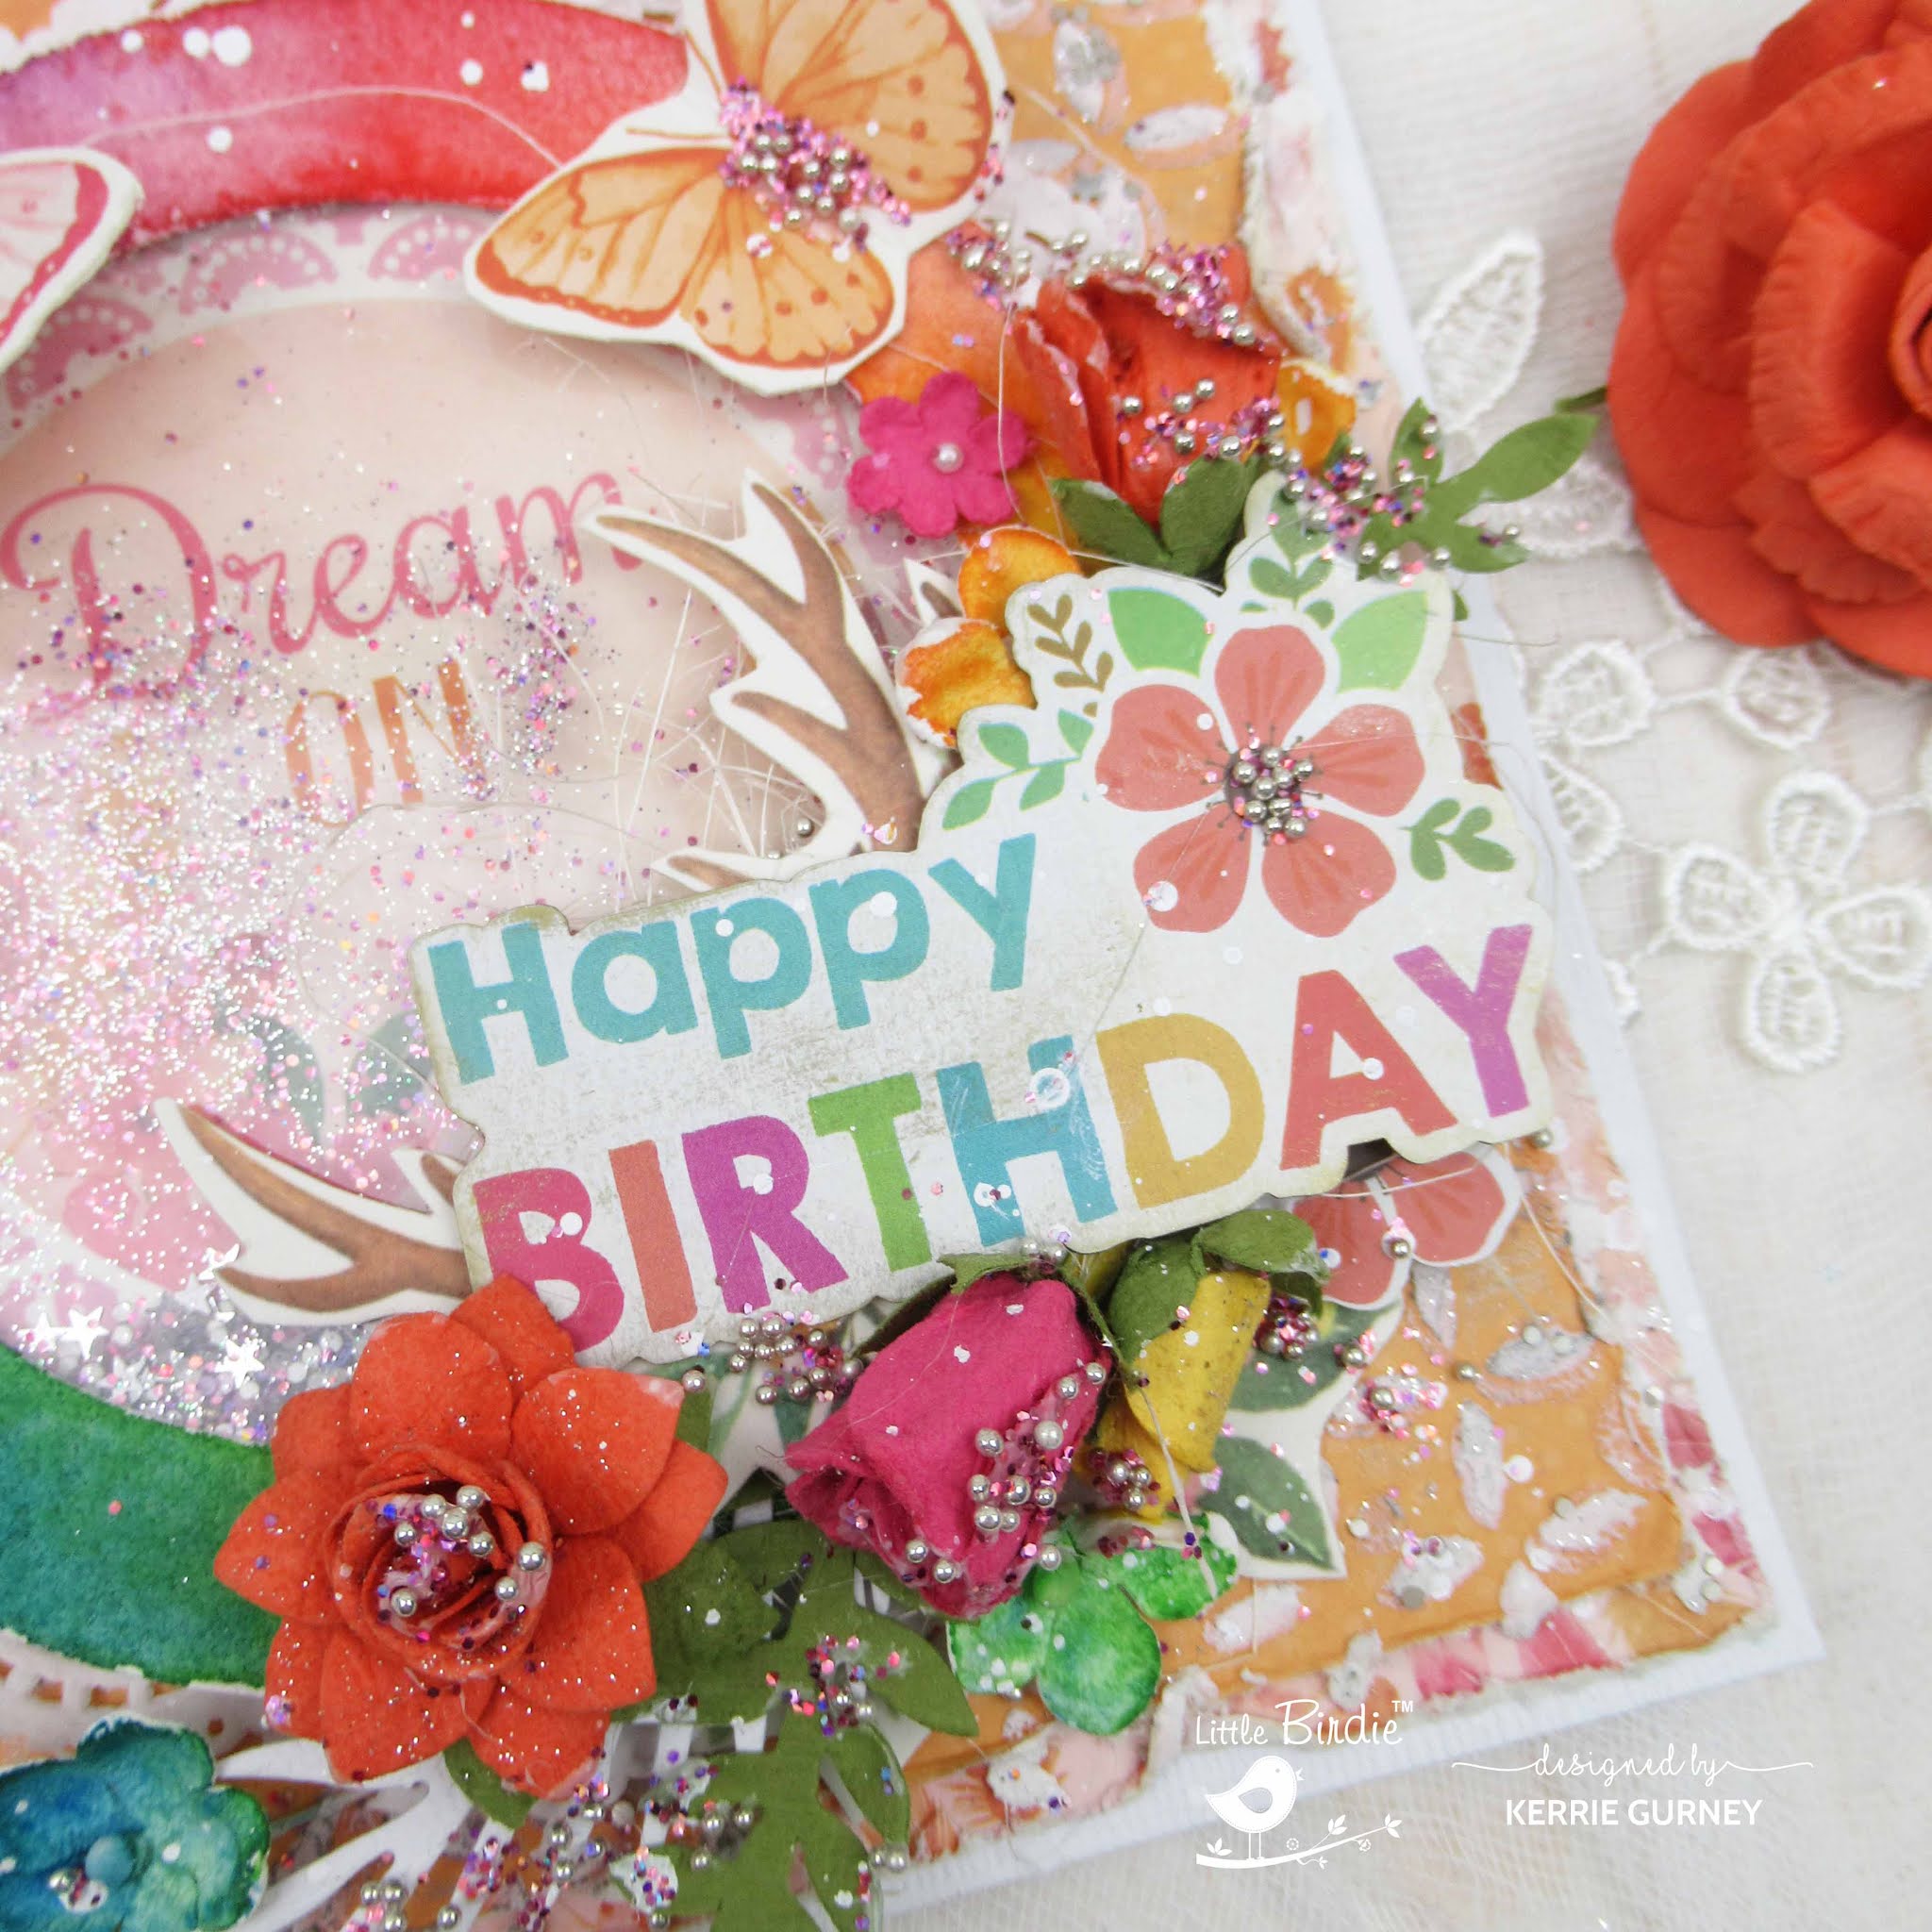
Birthday Shaker Card | Little Birdie Crafts

Hi Everyone, Kerrie here with another project for Little Birdie Crafts

Many years ago I was queen of shaker cards and I am so happy to see that they are once again popular as I do love a shaker card.
For my card today I have used Little Birdie's Boho Dreams collection as those who follow me know i love this colour combo and this collection 

first up I cut two pieces of patterned paper to use as my base layers, I then applied mixed media paste using stencil to add some texture 
while the paste was still wet i sprinkled on Silver Stars Twinkle Melange and set aside to dry
 I then watercoloured the circle frame and the flowers, once dry i pulled the frame part and created a window by adding some acetate to the back of the watercoloured frame. I also adhered a doily to the base I popped the base onto a paper doily to give another layer to my shaker 

I then double layered foam tape around the circle opening to give my shaker mix room to shake 
for my shaker mix I used a combination of Little Birdie blings 
next up I rubbed Silver Metallic Wax over the texture paste to add dimension and to take the whiteness from the paste
Once I had layered on my fussy cut pieces , flowers and sentiment I then applied some Gel Medium randomly to my cluster and sprinkled on some Micro Beads and Rainbow Sparkle and then finished off with some spatteres of watered down gesso 
a closer look at all the layers and texture


Little Birdie Crafts Products Used


Thanks for stopping by I hope you have enjoyed my tutorial,
please if you don't already follow Little Birdie Crafts on FacebookInstagram and of course their Blog 
 for fabulous tutorials from all the Design Team
You can purchase all Little Birdie Crafts products from your local crafting store or online HERE

 Happy Creating 


#kerriegurney #littlebirdiecrafts 

Saturday, May 30, 2020

Happy Birthday Watercolor Card | Little Birdie Crafts

Hi everyone Kerrie here with a fresh fun watercoloured  card I created for my sister in law for her birthday


For this card I used Little Birdie Crafts products including their Watercolor Cold Pressed Frame and Flowers which I watercoloured to match the Happy Birthday Embellishments I was using. I teamed it all with paper from Aqua Melody 6x6 Paper Pad


 Happy Creating 


#kerriegurney #littlebirdiecrafts


Thursday, May 14, 2020

Happy 80th Birthday | Little Birdie Crafts


Hi Everyone Kerrie back again for Little Birdie Crafts
my first project for May I have created this beautiful Shabby Chic Birthday card for my Step Mother who recently celebrated her 80th Birthday. I wanted to create a special card for her as her big birthday celebration interstate with her children and friends was cancelled due to COVID-19 lockdowns here in Australia and turning 80 is a pretty big milestone so I think that deserves a special card


Little Birdie Crafts Celebrate Life 6x6 paper pad was perfect to create my special card


I selected 5 different patterns and cut them down to created my layers, I chose 5 as I knew my card front was going to have some weight in it with all the layers and the flowers so I popped one onto the back to give the card some reinforcing so that it can stand up without collapsing

I cut the first layer 1/2cm smaller than the base and then the next 1/2cm smaller again then the 3rd layer was 1cm smaller than the 2nd and the 4th 1cm smaller than the 3rd


on the top/4th layer I applied some mixed media paste using Butterfly Inspire Stencil 


peel stencil off and while the paste is still wet


sprinkle Strawberry Lips Shimmer Hodge Podge all over paste


tap off excess and set aside to dry
Remember to wash your stencil you don't want your paste drying on it


while the paste is drying fussy cut some flower clusters, butterflies and the floral wreath from the fussy cut sheets
(sorry I forgot to photograph the pieces I used before I stuck them on my card)


Layer all your full layers on adding some floral clusters between the layers, I also added a decorative strip I punched from ivory cardstock


next up add a doily plus the floral fussy cut wreath


next grab some flowers, die cut leaves, fussy cut pieces, Happy Birthday sentiment, sisal fibre, muslin and numbers to add decorative cluster to your card front


place the muslin and sisal fibre down first them build your layers starting with the main flower.
The ip is to not have your adhesives go right the edge so that you can tuck pieces in to create depth and texture to your main cluster


to change the look of your flowers you can pull the centre off and replace with a lovely bling gemstone. I also cut some flowers in half and tucked them under helping to make your flowers go further

finish off with splatters created using watered down Gesso and a splatter brush 


I use a mix of Foam tape and gel medium to adhere my layers


Little Birdie Crafts Products Used
Celebrate Life 6x6 Paper Pad
Mixed Media Paste
Gesso, White
Gel Medium
Butterfly Inspire Stencil 
Embellishments, Sentiments,Wishes Words
Shimmer Hodge Podge, Strawberry Lips 
Flowers, Veronica Moon Light 
Flowers, Noelle Pearl Pink
Flowers, Beaded Blooms Pearl Pink
Flowers, Paula Moon Light 
Flowers, Natalie Moon Light
Dies, Tropical Fern

Thanks for stopping by I hope you have enjoyed my tutorial,
please if you don't already follow Little Birdie Crafts on FacebookInstagram and of course their Blog 
 for fabulous tutorials from all the Design Team
You can purchase all Little Birdie Crafts products from your local crafting store or online HERE

 Happy Creating 


#kerriegurney #littlebirdiecrafts