Showing posts with label christmas. Show all posts

Tuesday, November 30, 2021

Gnome Christmas Tags and Bon Bons | Couture Creations


Hi Everyone, Kerrie here with my last post as Guest Designer for Couture Creations.

I want to thank the Couture Creations team for having me back as their guest designer for the last 3 months I have enjoyed creating all my projects with their Deck The Halls Christmas Collection
If you haven't yet got your hands on this collection get out and grab some now it is a fun collection to create with and so perfect for personalising your Christmas gifting and and Christmas table decor.


For these gift card I used Couture Creations Snow White Cardstock which I cut down to 5cm x 7.5cm and then cut the corners off to create tag shape. I then created a border around the edge using a fine black pen. I also used the pen on the backs on my tags to write To: and From:
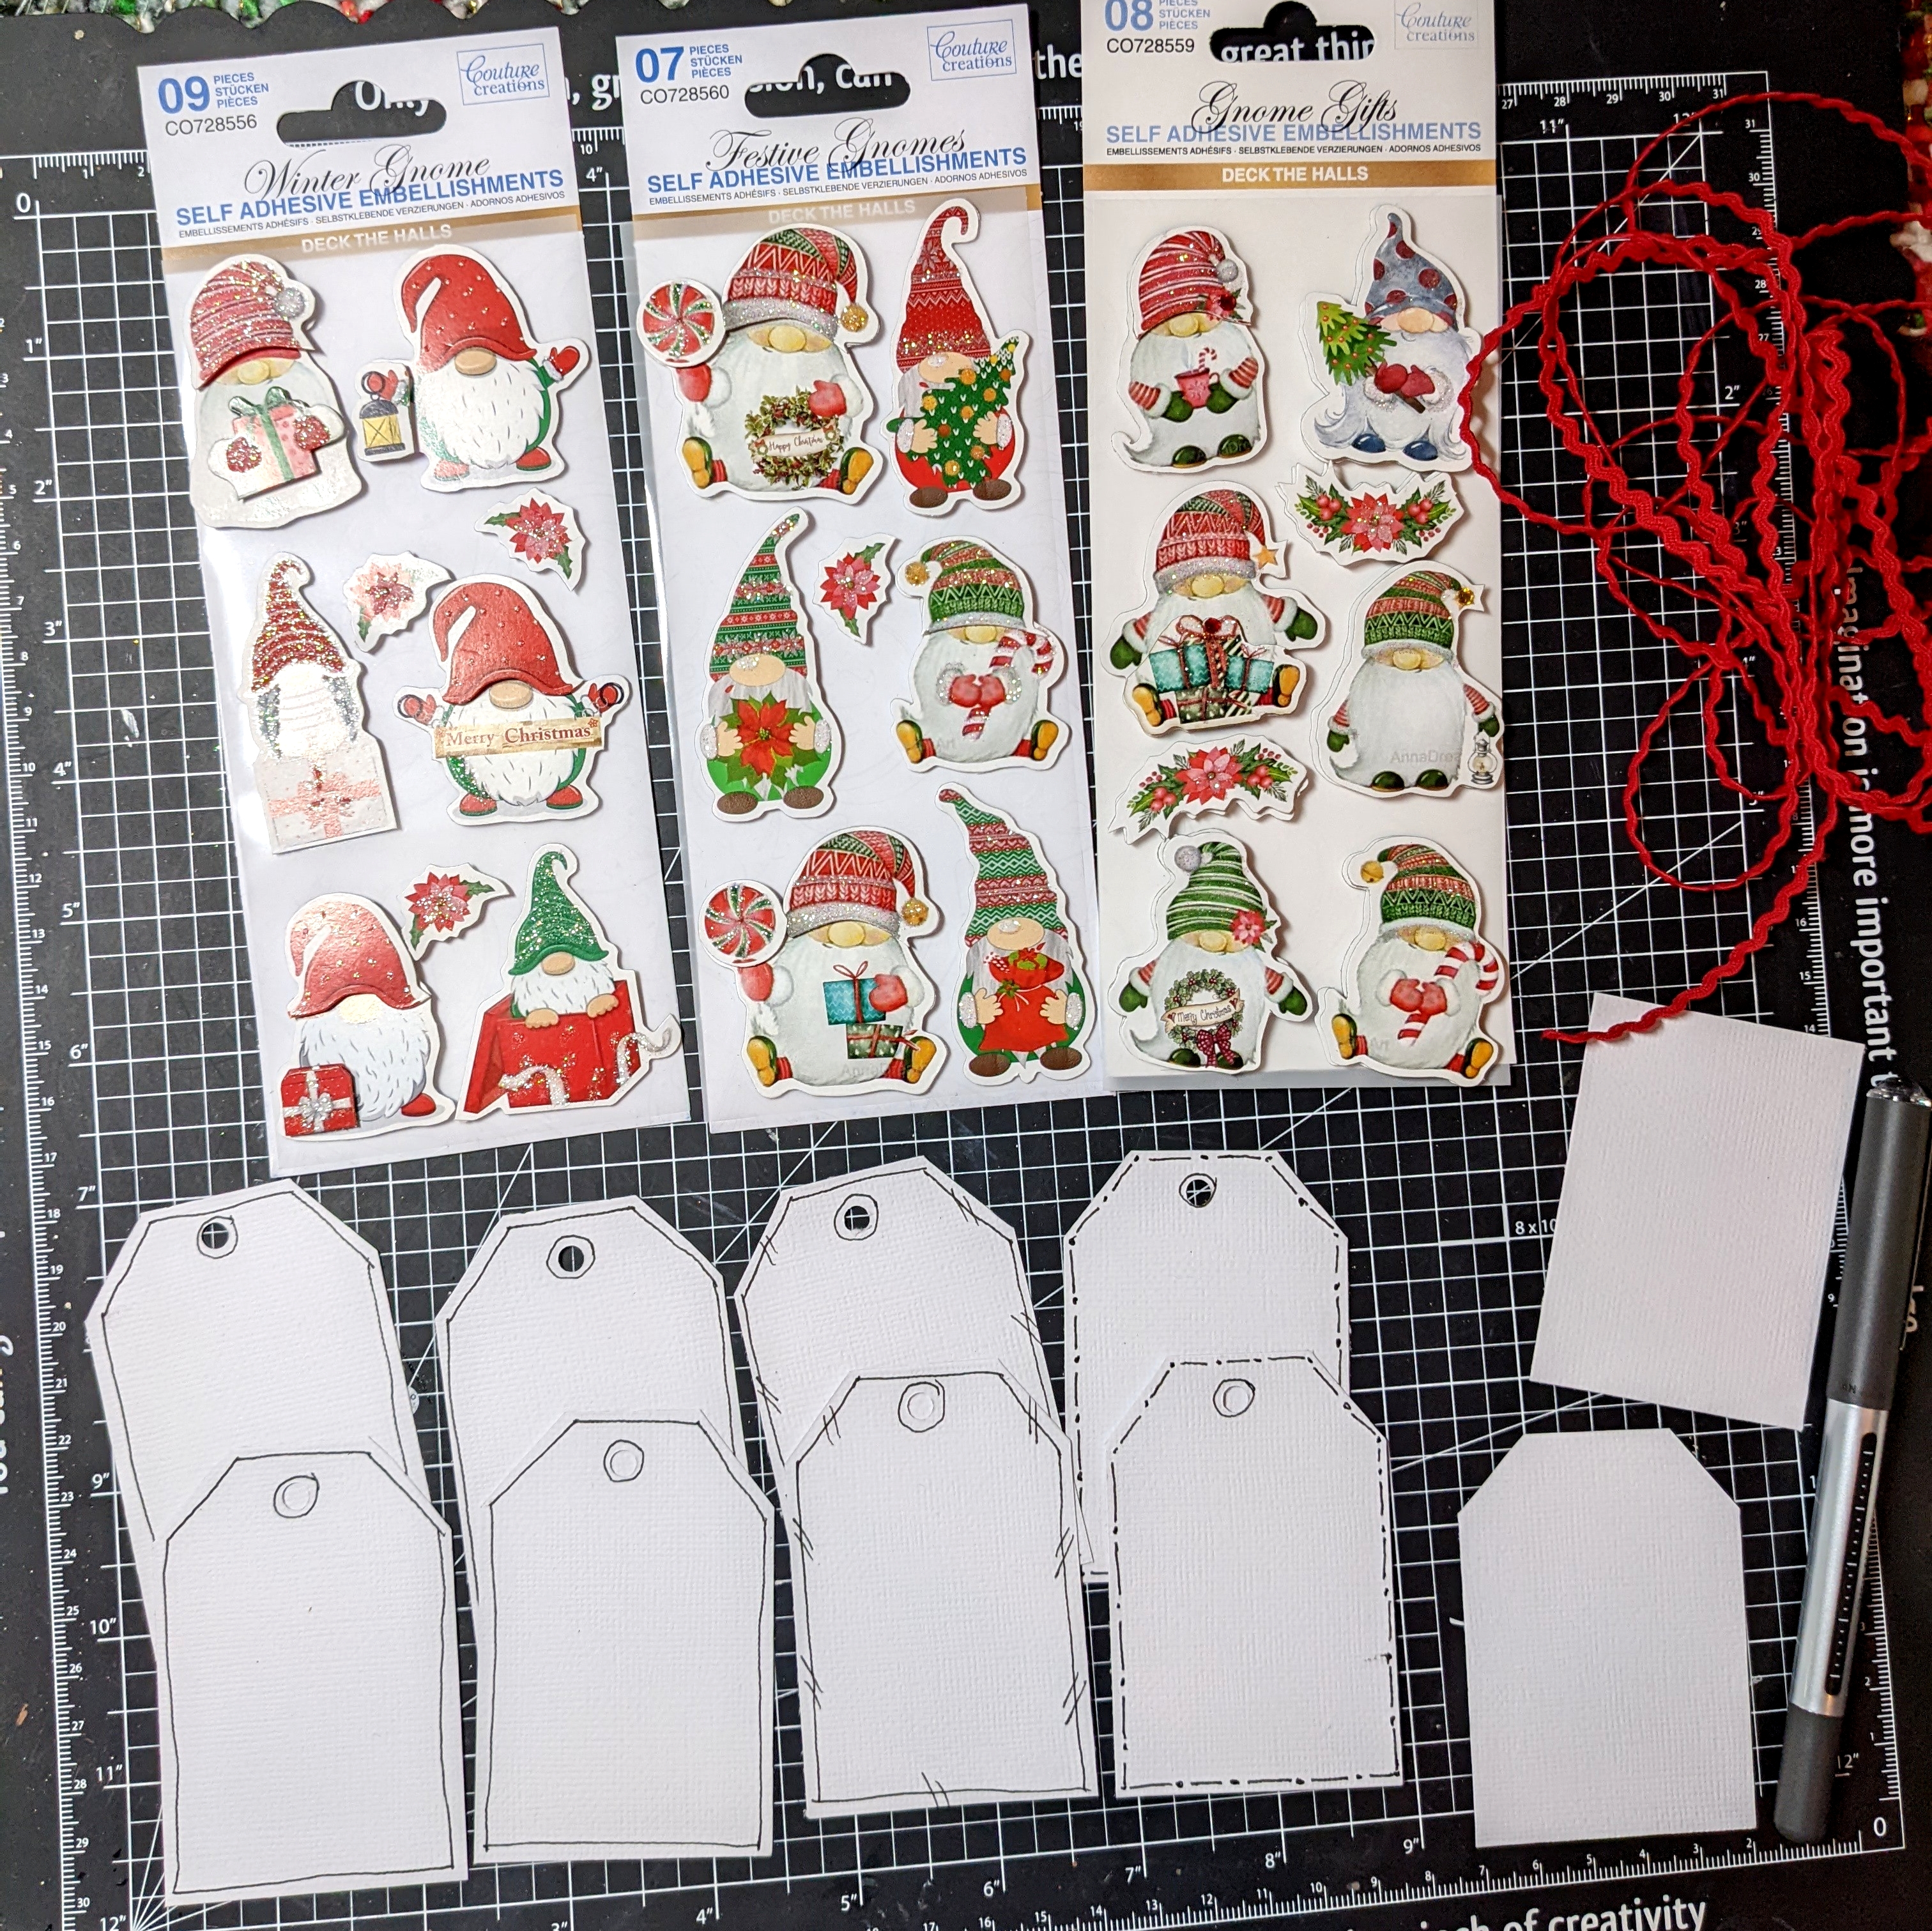


I then grabbed Festive Gnome, Winter Gnome and Gnome Girls Self Adhesive Embellishments and popped them on the tags. These embellishments are perfect for creating quick tags and they come with foam adhesive attached and they layered already so you don't have to do anything but stick them on your tags 
To finish off you just add ribbon for tying onto your gifts


You can also use these embellishments to add some fun to your Christmas Bon Bons
It's as easy as popping on a Gnome Embellishment straight onto your bon bon 


With Christmas fast approaching I hope I have inspired you to create some gifts tags and add some uniqueness to your Christmas gift giving and Christmas table 


Couture Creations Products Used


Until Next Time 
Don't forget to follow Couture Creations Blog as well as on Facebook and Instagram 


Happy Creating 


#kerriegurney

Monday, November 22, 2021

DIY Yarn Christmas Trees


Hi Everyone Kerrie  today I'm sharing some DIY Christmas Trees that are so super easy to create and something you could do with the kiddos 


All you need is some styrofoam cones and some yarn, string, fibres, some diecut stars  and a hot glue gun or craft adhesive.
 Make sure you choose your fibres that have different textures to give your trees some character


Start at the bottom add a blog of adhesive to hold your yarn in place and then just wrap the yarn around your cones. I placed rows of adhesive in 3/4 places going up the cone to hold the yarn in place as it is winding up the cone 


Supplies
Hot Glue Gun

Happy Christmas Creating 


#kerriegurney

Wednesday, November 17, 2021

Deck The Halls Envelope Mini Album | Couture Creations


Hi Everyone Kerrie back with another project as Guest Designer for Couture Creations 

For this project I created a  Christmas Mini Album using a packet of Christmas Envelopes from the Deck the Halls Collection, this is a super quick way to create a 4x6 mini album with the pockets already created for you


I started off by adhering two envelopes together back to back just on the flap, I just used the tape already there for sealing the envelopes


I used the whole pack of envelopes, so adhered 4 sets together and left two singles for the front and back of the mini album 


Then you just slide the flaps of two sets into one envelope which will be the front envelope


I then tucked the flap of the back envelope into itself and then slide the remaining 2 sets in and just like that your mini album base has been created.
You can secure the flaps more securely by adding a little adhesive to to each flap stop them sliding around 


I then embellished the front and the inner pages using a selection of Die Cut Shapes, Ephemera pieces, Patterned Paper and Sentiments
I also added a 4x6 mat to pop my photos on using Snow White Cardstock and finishing the matt off with a black hand drawn pen line to give some definition to the photo mat blocks 


There is room for adding tags and/or mementos from your Christmas along with some journaling
I finished off with red ribbon tied around twice as a closure for my album which you can easily untie to open up

TIP- keep everything fairly flat to keep so that the album is not too bulky remembering  you still have to add photos 


I hope you have enjoyed my tutorial and remember if you recreate this min album don't forget to share on your socials and tag #couturecreationsaus and me #kerriegurney

Until Next Time 
Don't forget to follow Couture Creations Blog as well as on Facebook and Instagram 

Couture Creations Products Used


Happy Creating 


#kerriegurney

Wednesday, October 27, 2021

Christmas Bauble Trees Card | Couture Creations


Hi everyone Kerrie back again as Guest Designer for Couture Creations for this card I have gone back to where I started with stamping and watercolouring 


Couture Creations Deck the Halls Collection has these cute stamp sets which you can colour using Alcohol Ink Markers, Ink Pads or Watercolours for my card I have used the Christmas Tree Scene set and I have watercoloured 


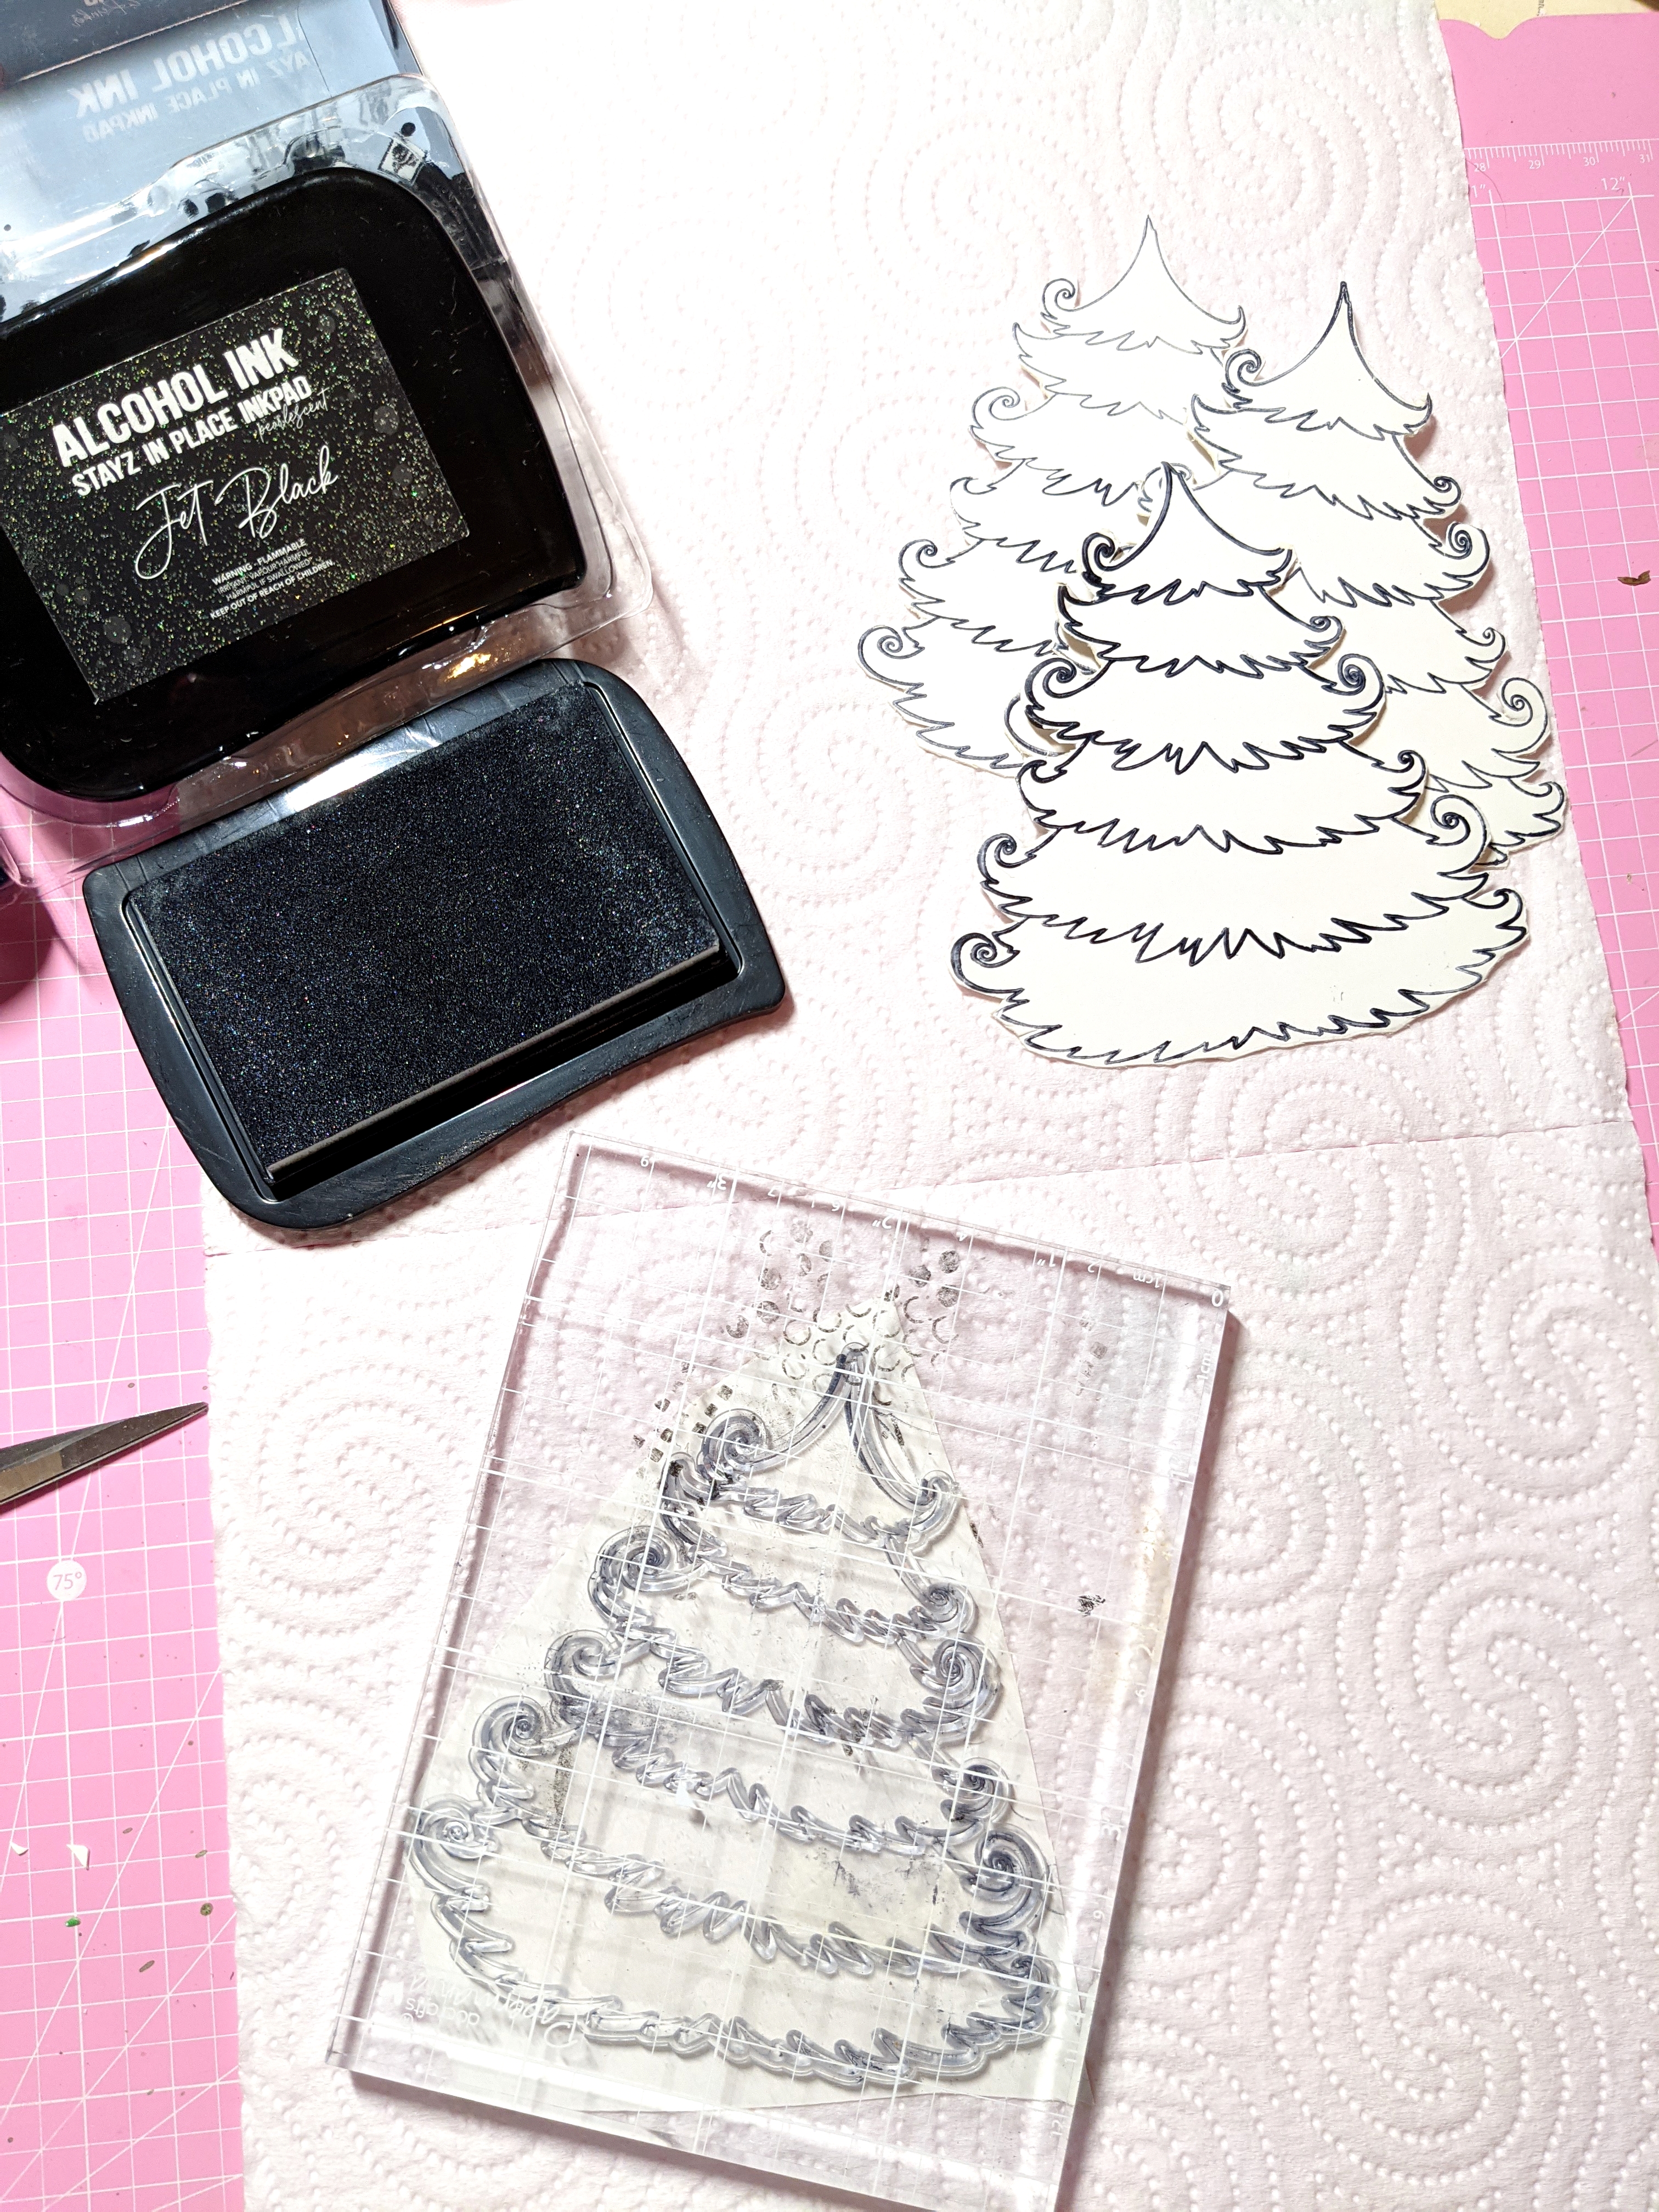
I started by inking up my Jet Black Stayz In Place Alcohol Ink Pad


I then stamped up my images using Cotton Watercolour Paper


I then coloured my images, I went for a messy watercolour look 
Once dry I cut our all my images and arranged them on my card base and adhered them all using foam tape to give dimension to my card


I added some sparkle with Crystal Glitter Glue


Couture Creations Products Used

Glitz n Glamour Glitter Glue, Crystal


Happy Creating 


#kerriegurney #couturecreationsaus


Wednesday, October 13, 2021

Merry Christmas | Couture Creations


Hi Everyone Kerrie back again with another Christmas Card I have created as  Guest Designer for Couture Creations
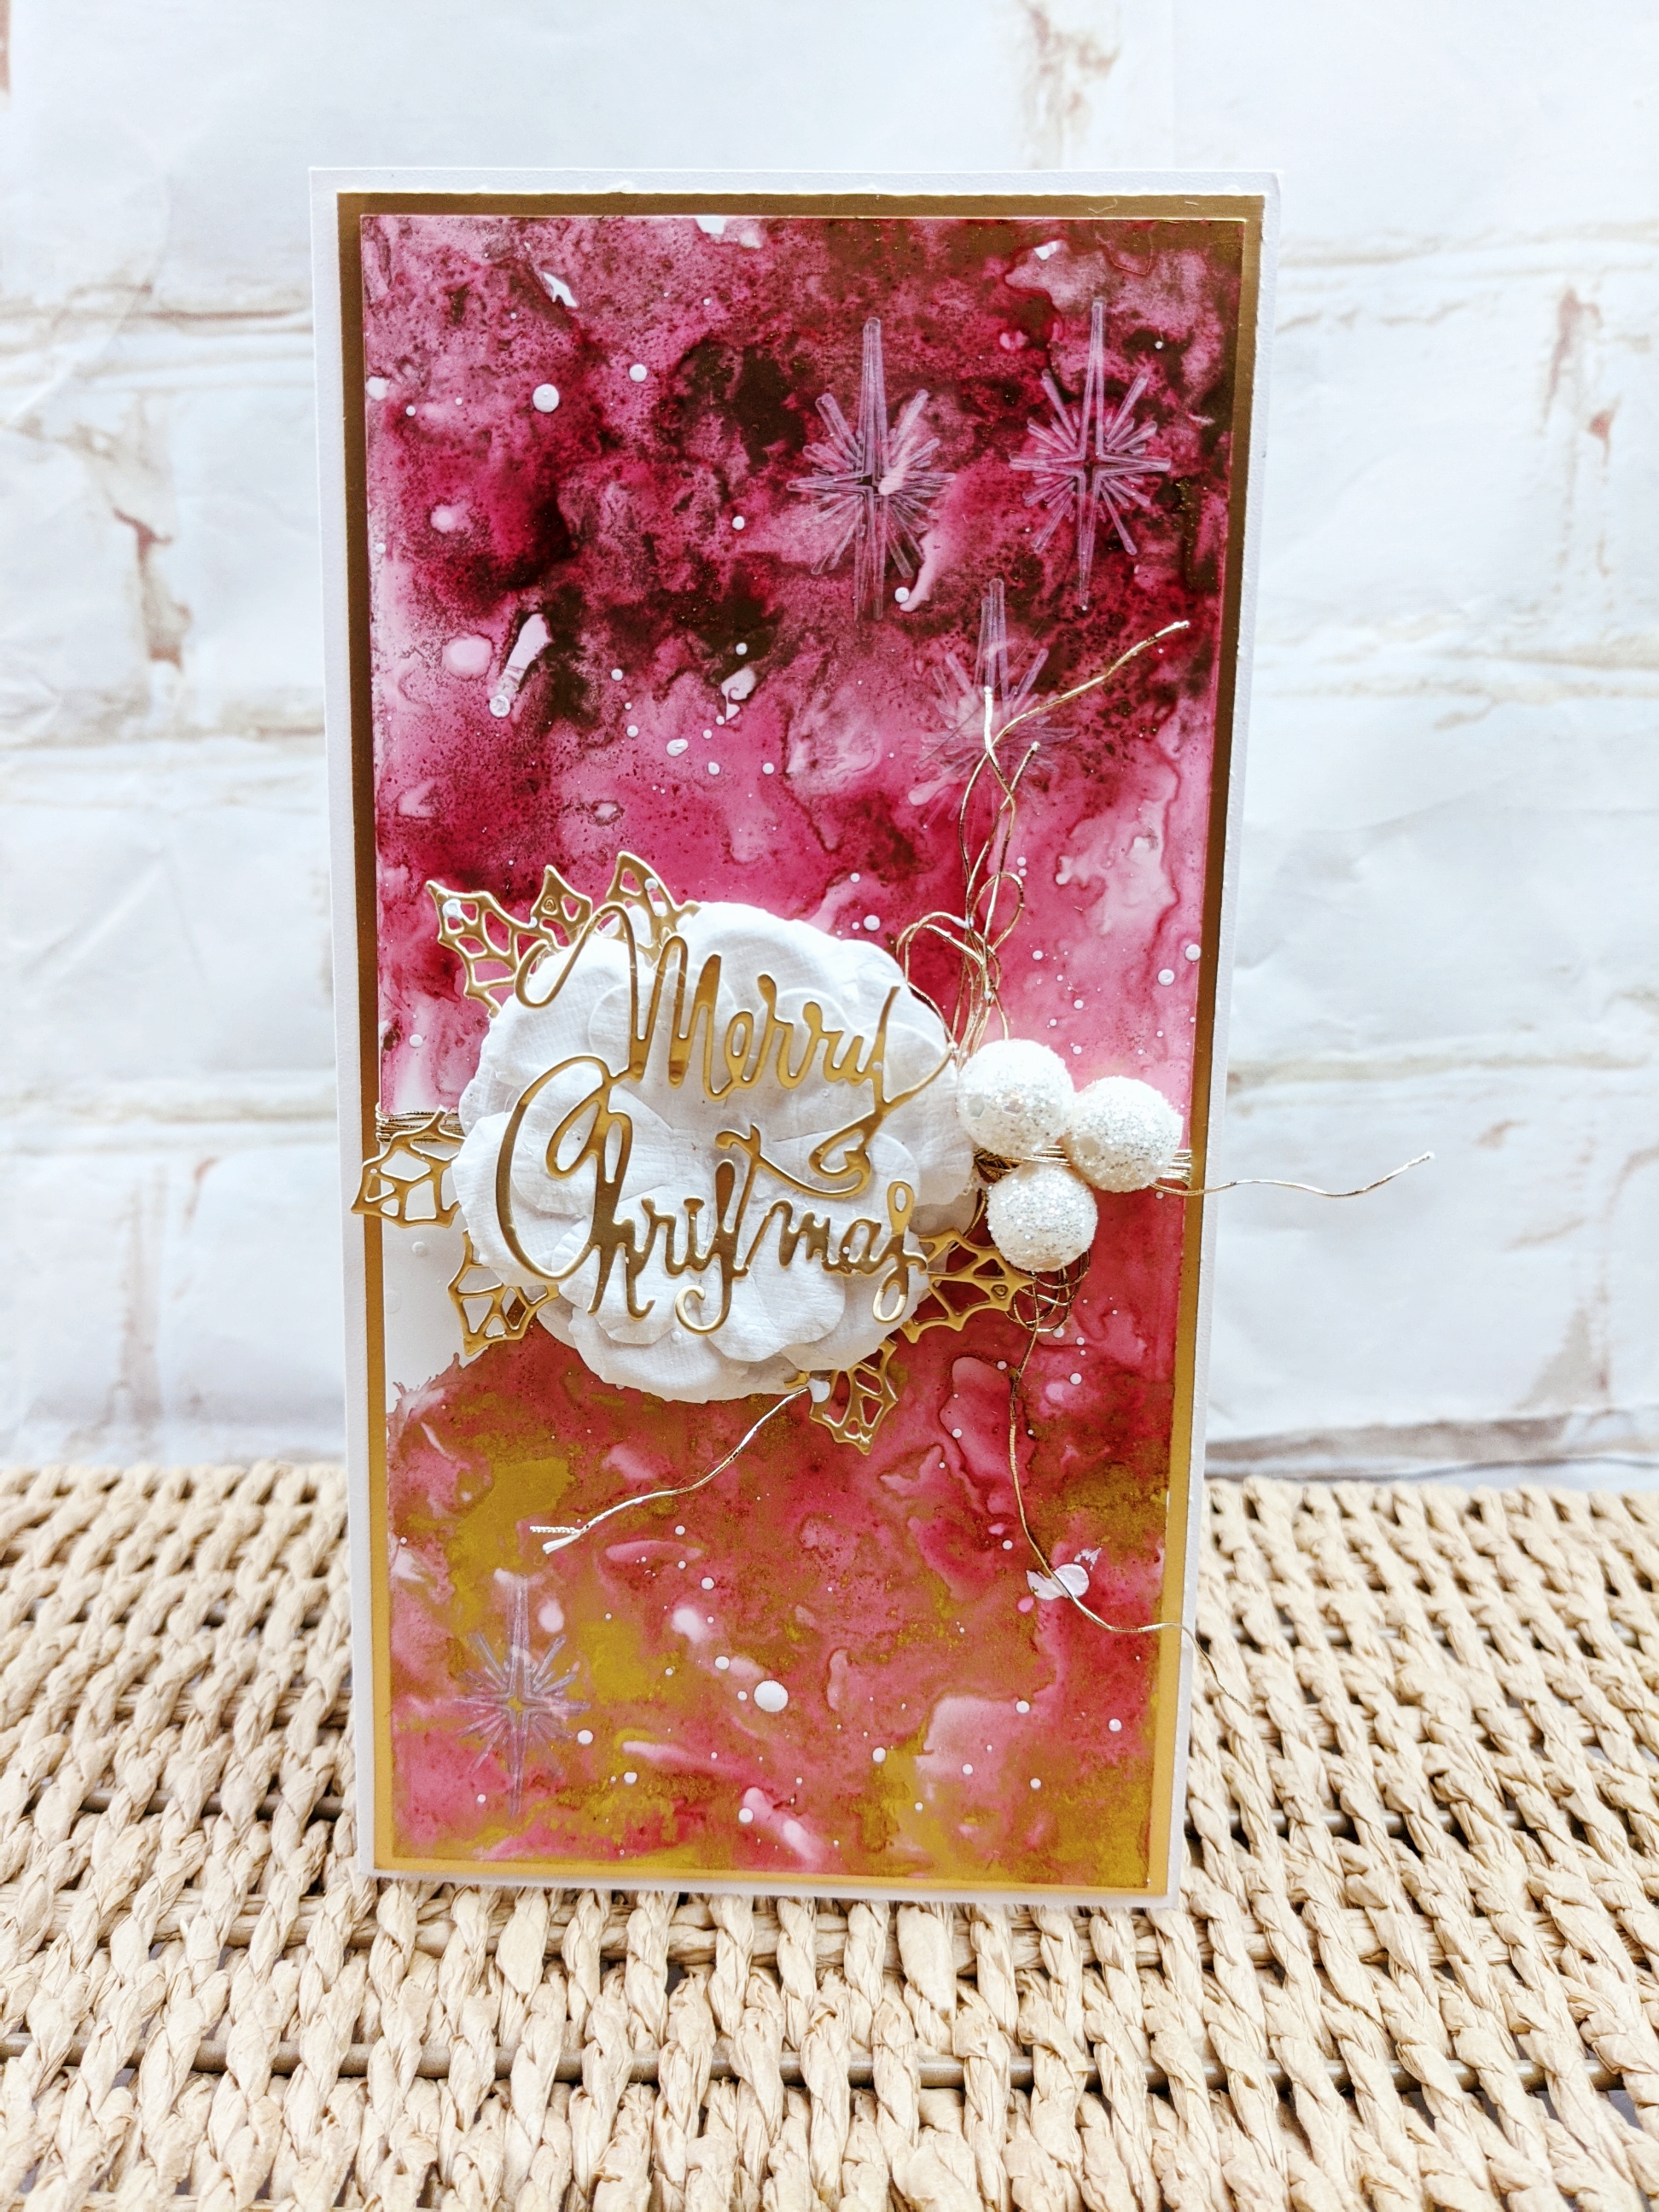
For this card i went with non traditional Christmas Colours and created a Watermelon Pink and Gold background using Couture Creations Alcohol Inks and a little stamping.
This card is once you can again create in multiples as it is quick an simple 


I started my alcohol ink background by dropping on some Alcohol Ink Blending Solution onto Yupo Paper, then dropping on Watermelon Alcohol Ink, move it around using the ink blower 


next i added the Golden Age Gold Alcohol ink and again moved it around using the blower
add some more Blending Solution to help move the gold 


I then added a touch more gold with the Pearl Gold Alcohol Ink 


leave to dry 


When my background was completely dry I stamped on some Christmas Stars using Artic White Stayz in Place Ink Pad and the Christmas Star from the Christmas Tree Scene Stamp Set


Stamping creates  subtle layers to your background 


I then added  Holly Sprig and merry Christmas Sentiment die cut from Mirror Board, I broke the Holly Sprig up and tucked into the flower petals
I finished off with some gold twine, paper flower, pearl balls and some splatters of the Artic White Alcohol Ink 


Happy Creating 


#kerriegurney

Wednesday, September 29, 2021

Christmas Trees Card | Couture Creations

Hi Everyone Kerrie back again Guest Designing for Couture Creations
this time I have created a layered Christmas Tree card using the new Christmas Tree Scene Stamp from the Deck the Halls Collection.
This is a versatile stamp set and you can just stamp and colour using markers or you could create a super cute shaker card using the tree but i have gone with creating my trees using Couture Creations Alcohol Inks, these are just too fun to create with and every time you use them you get a different background  

 I started out by stamping out three tree images using the Jet Black Stayz in Place Alcohol Ink Pad onto Yupo Paper


I then cut all the images out, I actually stamped and cut one extra just incase I wanted to add another layer


I then selected my Alcohol Ink colours, testing them on a scrap of Yupo Paper


I started layering my Alcohol Inks by applying the Khaki Glitter Alcohol Ink first, I then added the Champagne Metallic followed lastly by Jade Metallic, then blowing the colours around using the blower tool 


you can see the shimmer from the metallics and the sparkle from the glitter 


Once dry I them restamped the tree images using the Jet Black Stayz in Place Inkpad you could restamp using gold if you prefer but I wanted the stark contrast


I diecut Merry Christmas sentiment from Gold Mirror Board


I then layered my tree onto my base card which I had created using Mirror Board and White Glitter Card 


I hope you have enjoyed my tutorial and remember if you recreate this card don't forget to share on your socials and tag #couturecreationsaus and me #kerriegurney

Until Next Time 
Don't forget to follow Couture Creations Blog as well as on Facebook and Instagram 


Happy Creating 


#kerriegurney