Showing posts with label charms. Show all posts

Wednesday, April 24, 2019

Dream Mixed Media Burlap Canvas | Little Birdie Crafts

#kerriegurney #littlebirdiecrafts 

Hi Everyone Kerrie back with another mixed media project for Little Birdie Crafts

I had so much fun creating this 8"x 8" mixed media burlap canvas, I love all the textures  and layers I created on this canvas and seriously you cannot muck it up as you can just gesso over it all and start again if you don't like how your colours come out, see below for my tutorial and step by step photos


I started off by giving the whole burlap canvas a random coating of Gesso 
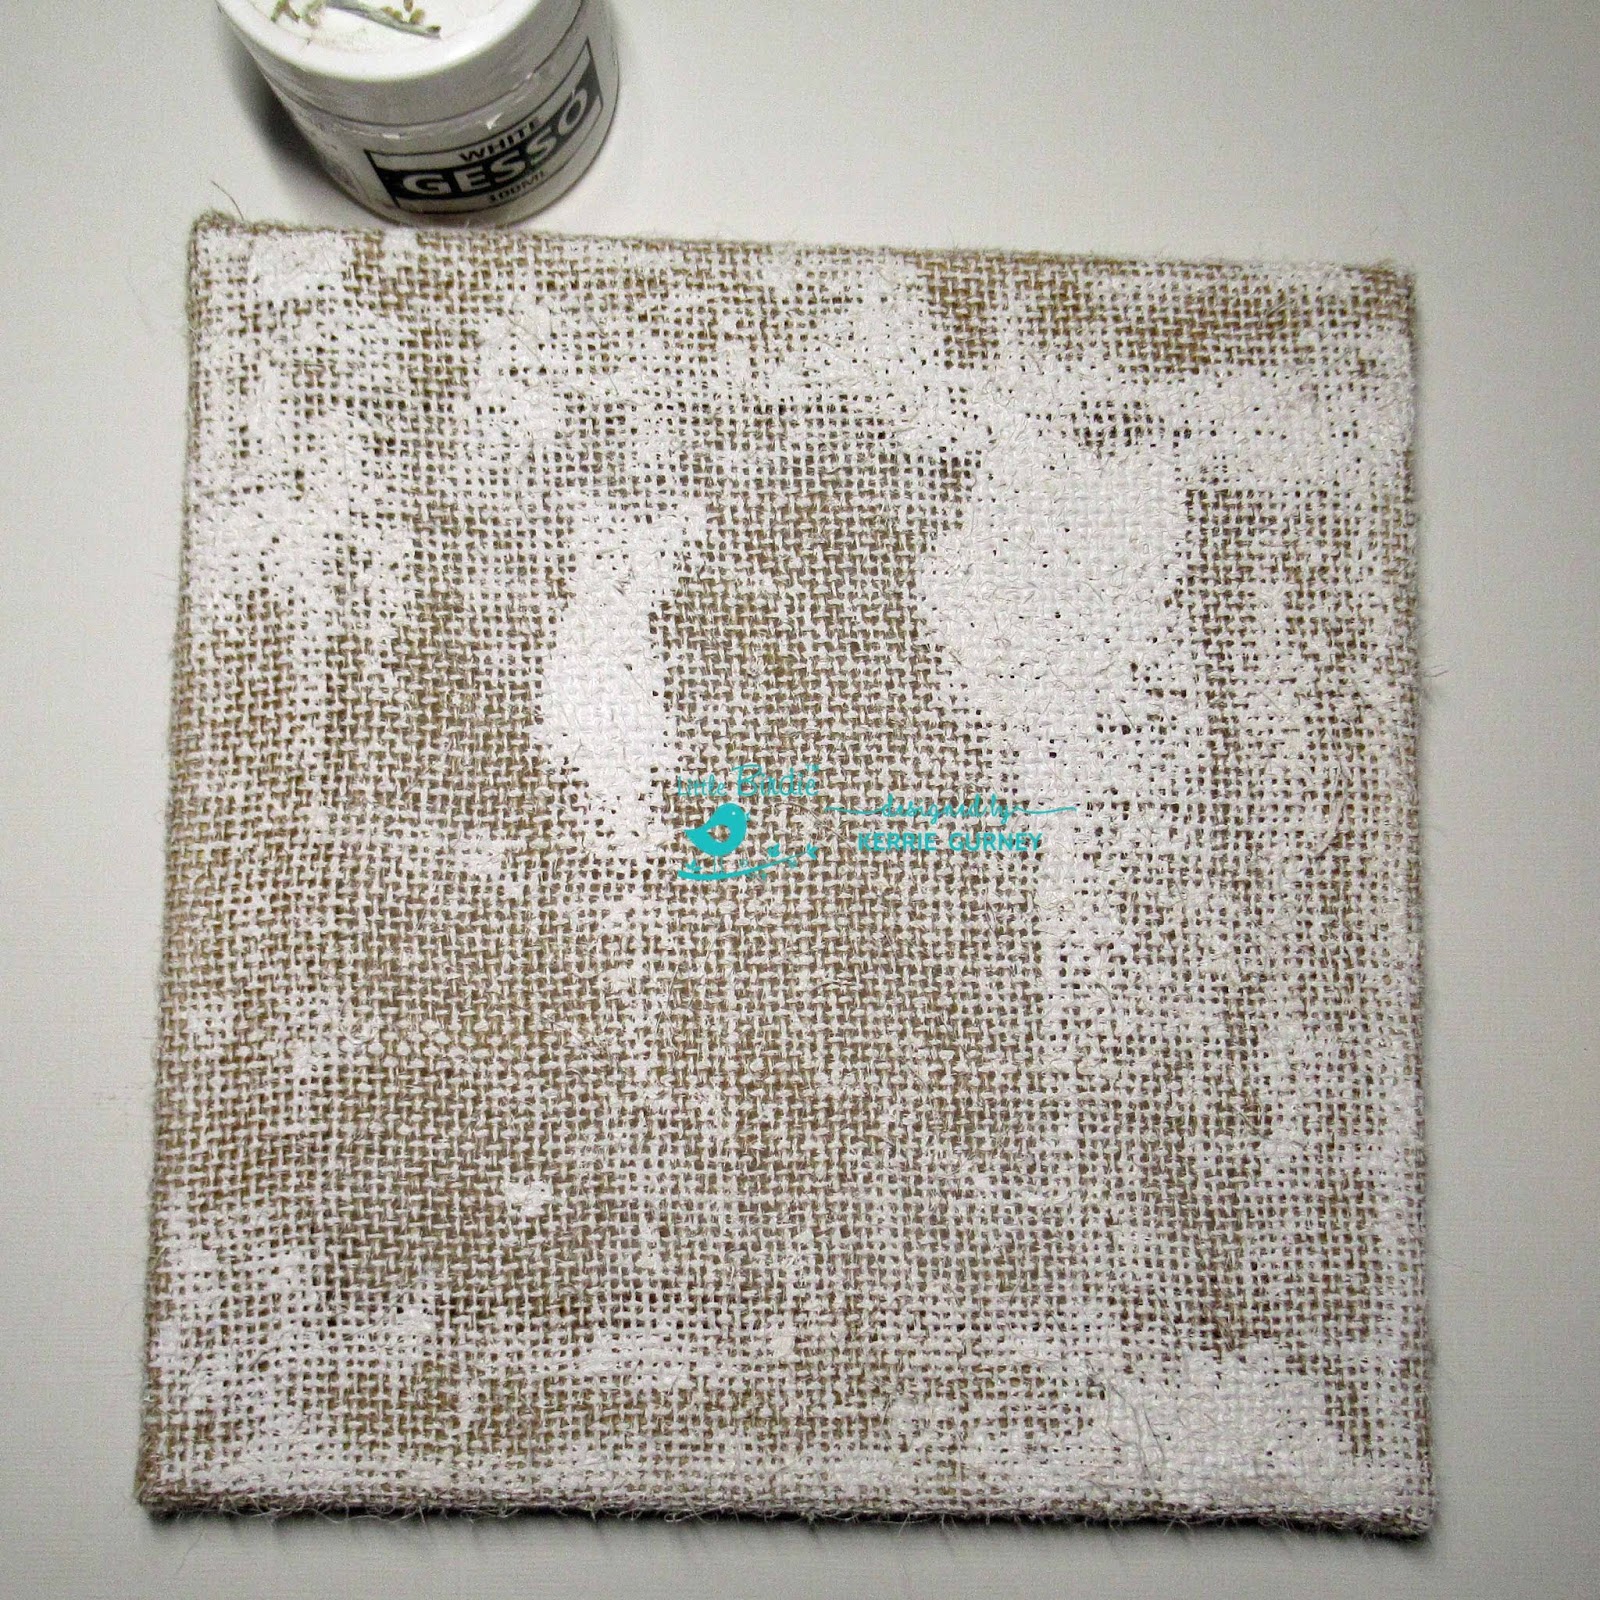

I didn't wait a perfect coverage as I wanted a rustic look


Next I randomly applied Crackle Paste using Chevron stencil, again nothing was done perfectly


next using gel medium I cut three paper straws in half and adhered them, the Succulents  and a chipboard scroll border to my canvas


I  heat set the gel medium and then painted over everything with Gesso, I also added some paper flowers, mixed media stones, sisal fibre and leaves that I created using the Sculpture Paste (I had these already made up and in my stash, see my post here to see how to create your own you can use Sculpture Paste in all your silicone molds) I dried everything off with my heat tool


Next I coloured my canvas using a combination of  Gold Rush Ocean Mist and Lemon Zing Color Splash sprays. I started with Gold Rush, next adding Ocean Mist then Lemon Zing and then another spray of Gold Rush. I added some splatters,  I then dried it all using my heat tool


I then dry brushed Gesso over my cluster and then resprayed my canvas giving more depth to my colour. I am so in love with the Gold Rush spray the colour is gorgeous


A closer look at how the crackle paste dries, how gorgeous is all that texture


look at the colours on the chipboard


I finished off my piece with a sprinkling of Metal Microbeads applying using Gel Medium and a small paintbrush


Thanks for stopping by I hope you have enjoyed my tutorial,
please if you don't already follow Little Birdie Crafts on FacebookInstagram and of course their Blog 
 for fabulous tutorials from all the Design Team


 Happy Creating 


Wednesday, June 15, 2016

Hello Sunshine | Couture Creations

#kerriegurney #couturecreationsaus #ultimatecrafts

Hi Everyone Kerrie here with a layout created using the
NEW Couture Creations Sea Breeze Collection
I created this layout for a class I taught last month in Brissie and loved it so much I thought I would share it as my blog post for the Couture Creations Blog

I love this photo of Bezzie, Leith and I taken on a stop off in Vanuatu while we were cruising earlier this year


Instructions

1.       Firstly when cutting papers, Keep all barcode strips
2.       From Collecting Shells paper cut a piece 25cm x 25cm from the center, giving a 2.5cm border
3.       Distress the edges of both pieces and then ink the edges
4.       Cut from Adventurous paper the top section to create a swag
5.       Also cut from Adventurous paper 1 x 15cm x 7.5cm, 1 x 16.5cm x 11.5cm and 1 x 12.5cm x 6cm
6.       Cut from Windy Beach paper 1 x 13cm x 11.5cm and 1 x 6cm x 9cm
7.       Lightly and roughly paint the outside edge of border piece, set aside to dry
8.       Paint Embossing folder using Forest Green paint and randomly stamp onto 25cm square piece of Collecting Shells paper along the bottom 3rd section
9.       Using a finer paint brush flick some paint splatter to the top 2/3rds of piece, set aside to dry off
10.   Paint metal charms using Forest Green paint and set aside to dry
11.   Add some water to paint to create more of a wash effect and paint fence die cut, while still damp scrunch the fence to give some character, set aside to dry
12.   Grab barcode strips and tear Collecting Shells strip down to 24.5cm, Cut Windy Beach strip down to 8cm and Adventurous down to 5cm,
13.   Distress the edges of all papers and base cardstock
14.   Ink all the edges using brown ink pad
15.   Using foam mounting tape adhere the border to base cardstock
16.   Use Turbo Glue Pen or Double Sided Tape to adhere center square down inside border, do not place tape or adhesive right to the edge as you want to be able to curl the edges back, giving a more distress and shabby look
17.   Adhere paper swag
18.   Adhere Muslin across the top, then add portions of fence
19.   Layer on Collecting Shells barcode strip
20.   Layer all papers to go under photo, I stapled them together and then adhered them as one piece
21.   Add photo and adhere Wood Veneer title (you can paint it if you like)
22.   Run a line of Turbo Glue on either side of photo cluster and add broken shell pieces
23.   Embellish with netting,  glass vial and ships wheel charm
24.   Add barcode strips to top left and embellish with compass charm and twine

25.   Finish off with a sprinkling of pearls


 Happy Creating