Showing posts with label corrugated board. Show all posts

Friday, November 22, 2019

Happy Memories | Couture Creations

#kerriegurney #couturecreations

Hi everyone Kerrie back with another layout using Couture Creations Sunburnt Country
This time a double layout with lots of fussy cut leaves and die cut kangaroos


I added some subtle texture using stencil and embossing paste


I coloured the chipboard title and elements using Black Card Deco Essentials Ink Pad
OI also dry brushed the corrugated card with white gesso


I added black splatters using watered down black gesso and a splatter brush, making sure to cover my photos before splattering


TIP: to get your die cut kangaroos facing different direction you just flip your patterned paper over and die cut. I inked the edges of the kangaroo die cuts using black ink on a sponge dauber.


Couture Creations Sunburnt Country Collection is available NOW from your local papercrafting store


 Happy Creating 


Wednesday, September 18, 2019

Unforgettable Memories | Celebr8

#kerriegurney #celebr8

Howzit everyone, today I am sharing a layout  i created using Celebr8's Photo {Booth} collection that i has photos that bring back so many amazing memories and emotions for me.
While in South Africa for Scrapbook Studio's The EVENT at  which I was the surprise guest tutor, i chatted  to some of the very passionate animal loving ladies who strongly suggestion we visit Addo Elephant Park so we did. Actually Corlia has been telling me for year i must visit and no I know why she loves it so much. It was truly amazing and to get to do it with Bezzie and Cariena on Cariena's birthday was even more special. We spent two full days there and all three of us left a piece of our hearts in Addo.


This layout features photos of before and after this elephant charged at us! it was just the three of us in our little hire car and this fella decided he had enough of us taking photos and charged.
While frightening at the time especially while I was reversing the car back away from him being careful as to not go too far back and run over the Zebras on the road behind us :)
We decided to just pull over cut the engine and let him pass which he did, mind you I don't think the three of were game enough to take a breath while he passed by.
this was about half an hour after we had entered the park so we knew the next two days were going to be ones  we will all remember forever.


 Happy Creating 


Wednesday, April 10, 2019

Loads of Love Layout | Little Birdie Crafts

#kerriegurney #littlebirdiecrafts

Hi Everyone, it's Kerrie back again for Little Birdie Crafts.

I have created my layout using Little Birdie Crafts Fairy Sparkle Patterned Paper and matching flowers along with some primed chipboard, chalk paint, gesso and sprinkles


Fairy Sparkle is a gorgeous collection and so very versatile, with gorgeous papers and die cut doilies along with journaling cards and a fussy cutting sheet.


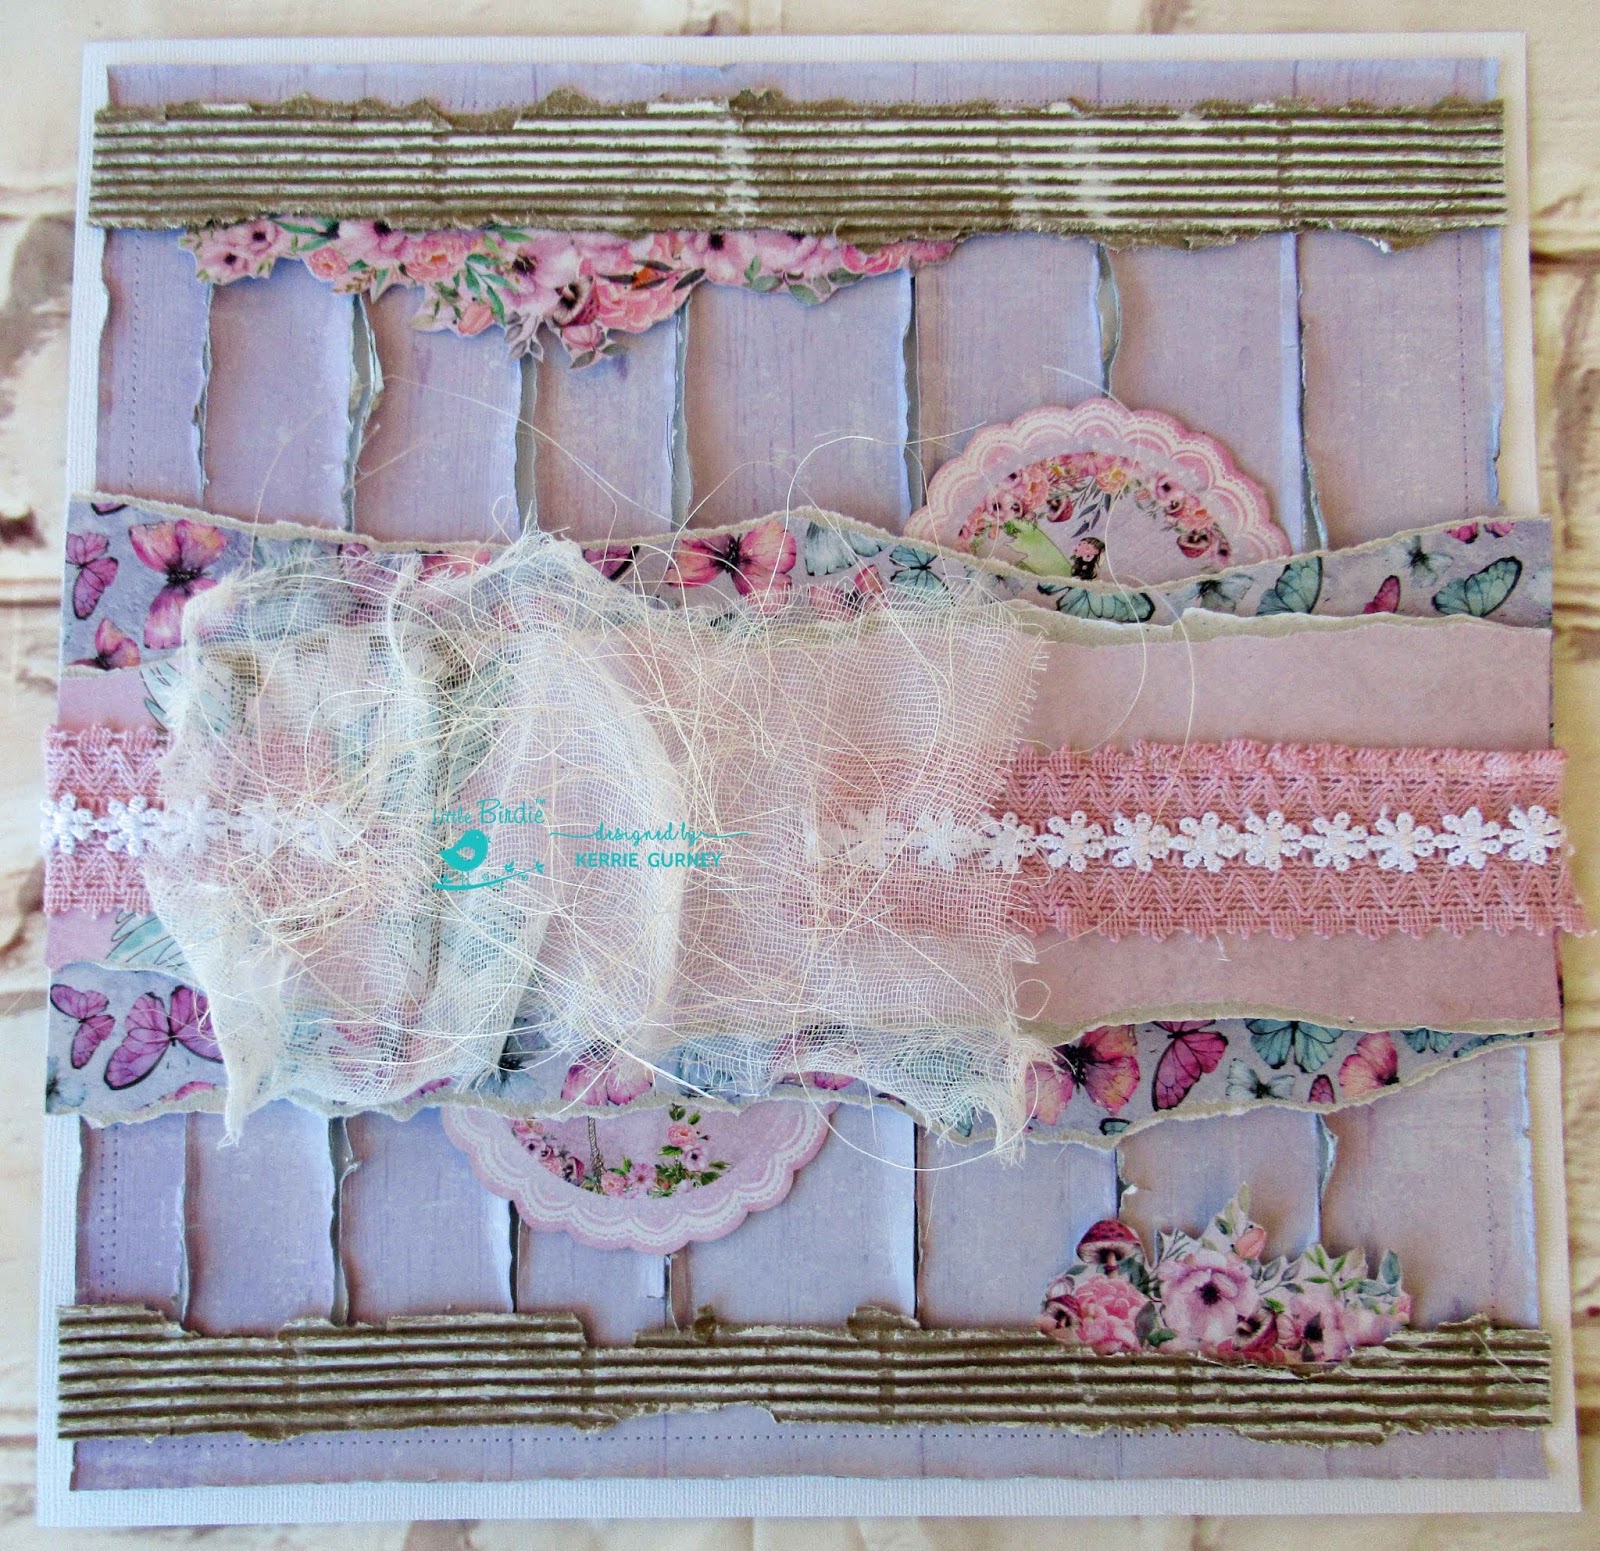
to create my background I cut down the wood panel patterned paper sheet to 11.5"x11.5: and then using my craft knife and a ruler cut down the groove lines, leaving the top and bottom uncut so as to keep the sheet together. I then adhered it to my base sheet of white cardstock and then using my fingernail distressed the edges. I created a faux stitched border using my tracing wheel tool and ruler.


I then tore two strips a corrugated board and dry brushed Gesso onto them


I fussy cut loads of flower clusters to use from the scattered flower sheet and the sheet with the fairy on the swing and one of the journaling cards.  As you can see I cut way more than I needed these are the ones I didn't use but I now have them ready to use on another layout or a card.


I then tore two pieces of patterned paper one  from the scattered butterfly patterned paper piece and the other is the piece with the fairy on the swing left over from my fussy cutting
I popped out two doilies to use in my layers


I adhered a double layer of lace trim to the center of my layers and then added a layer of muslin and Sisal fibres. I added the flower trim to the center of lace trim to hide the join line.


I then mixed up some Lavender Blush Chalk Paint with Gesso to lighten it and then painted all my Primed Chipboard pieces


One the chipboard pieces were dry I sanded them back slightly to give a weather rustic look
I then adhered all my chipboard pieces, flowers and sprinkles on using Gel Medium
To create layers I tucked some flower clusters in between my layers and also used foam tape on some layers.


Lastly i added some splatters using Hot Pink Colour Splash


Thanks for stopping by I hope you have enjoyed my tutorial,
please if you don't already follow Little Birdie Crafts on FacebookInstagram and of course their Blog 
 for fabulous tutorials from all the Design Team


 Happy Creating